This post contains links that, if you click on them and make a purchase, will earn me money. As an Amazon Associate, I earn from qualifying purchases. . Regardless, I only recommend products or services that I believe will be good for my readers. Thanks for helping me continue to produce great content!


Looking for a Homemade Pasta Recipe to use with your KitchenAid Mixer and its Pasta Attachment? You’ve come to the right place. I like this recipe because it uses a few more egg yolks than many recipes I’ve seen, giving it a rich golden color, and a silky texture once it’s cooked.

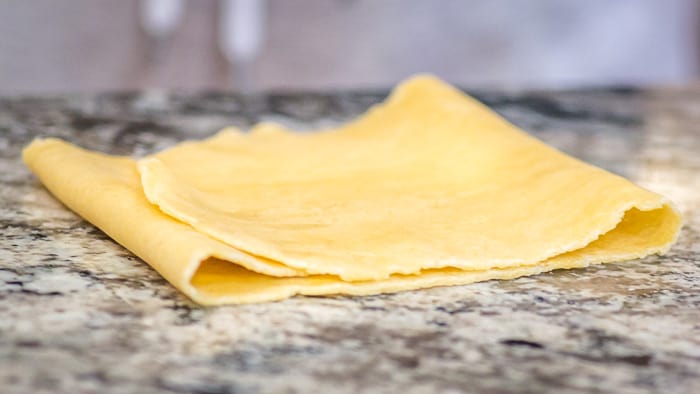
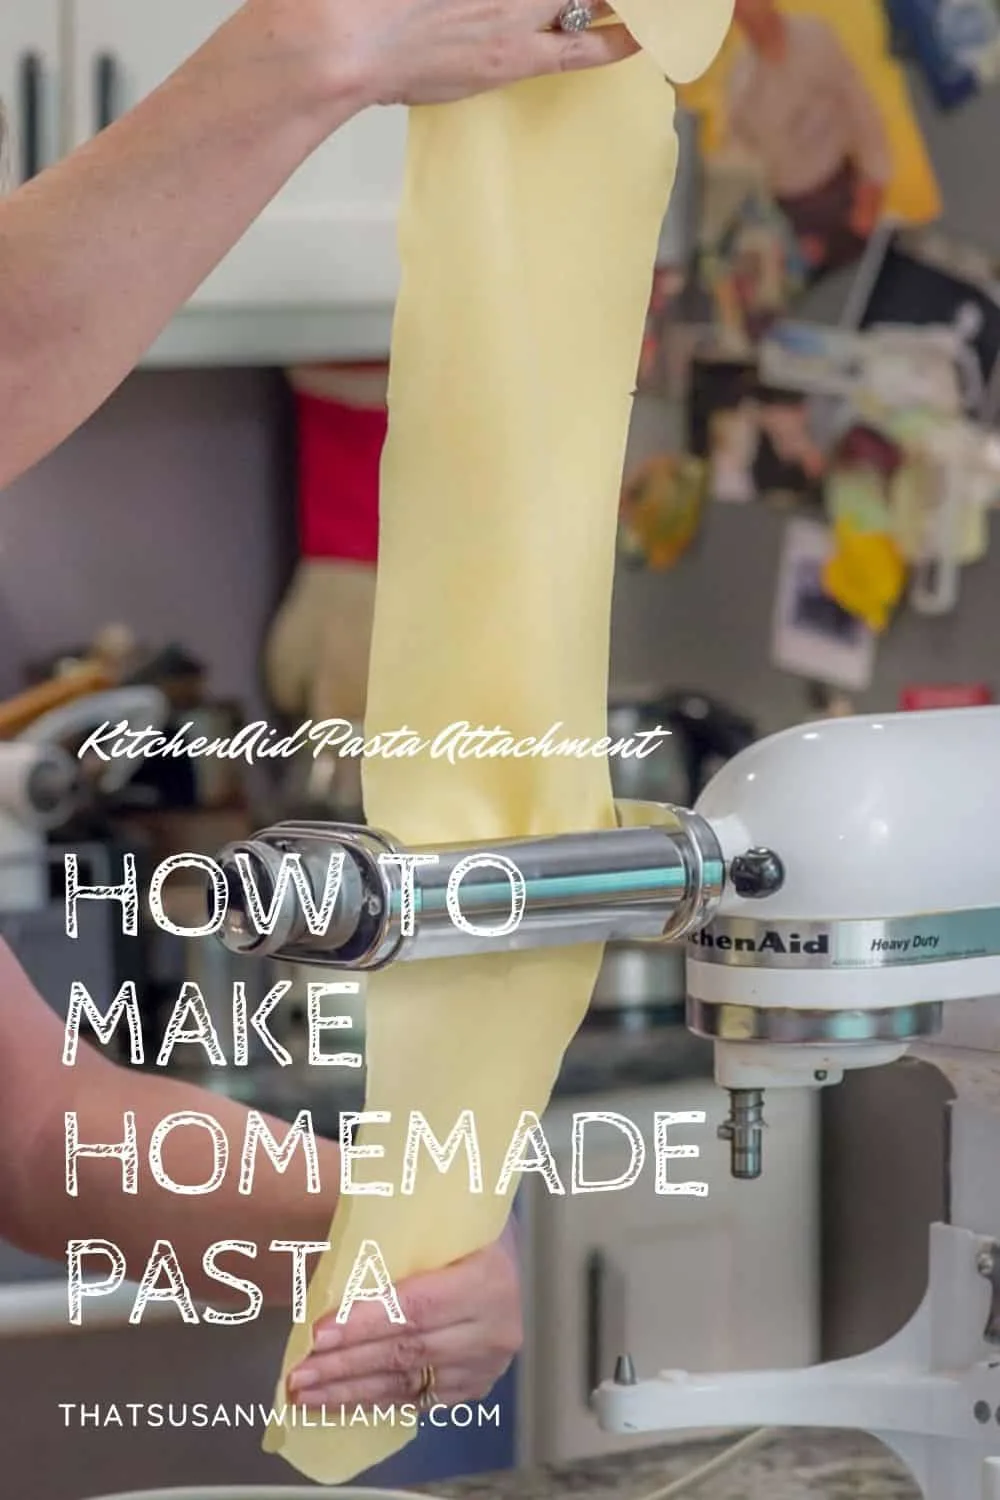
A close up view of the rolled out pasta.
Do I Have to Use a KitchenAid Pasta Attachment to Make This Recipe?
Absolutely not! You don’t have to use this attachment to be able to use this recipe. Nor do you have to use a food processor to mix the ingredients.
I use the food processor to do the initial mixing to speed up that process. But you can use this recipe without a food processor by simply dumping out the dry ingredients onto a clean counter, and hollowing out a well in the middle of the flour. You put the wet ingredients in the center of the flour well, and gradually, in a circular direction mix the flour from the flour walls down into the pool of wet ingredients.
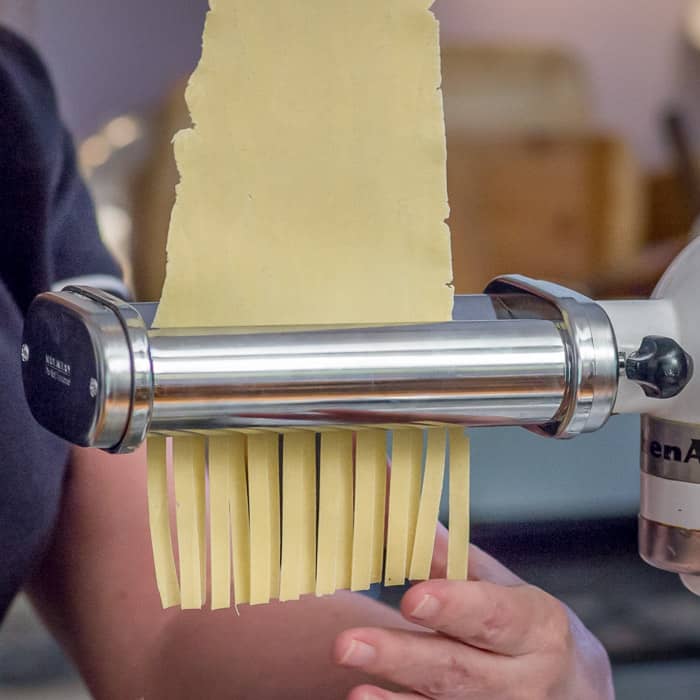
In case you’ve never gotten to see what the Kitchen Aid Pasta Attachment looks like, I wanted you to be able to get a gander at one. I couldn’t imagine it prior to seeing it.
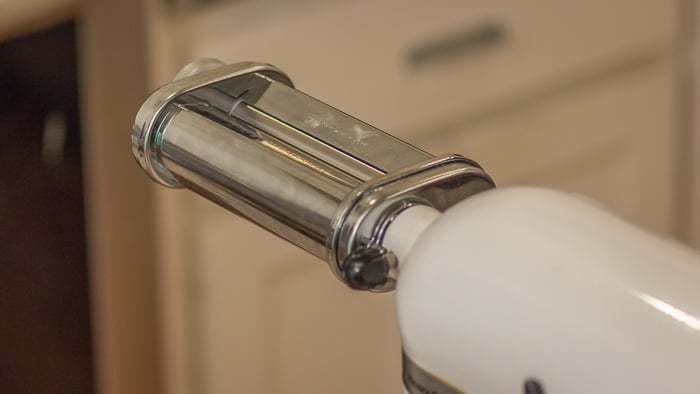

See how this roller attachment fits onto the place where that knob is at the top front of your KitchenAid Mixer? If you look closely, you can see the gap in the middle of the attachment. That’s where you feed the dough through, and you will use the settings to cause it to roll the pasta thinner, and thinner, as you go.
The motor of the mixer (set on low or 2) turns the rollers inside of this rolling attachment, so there’s nothing for you to crank, while you’re feeding the dough through.

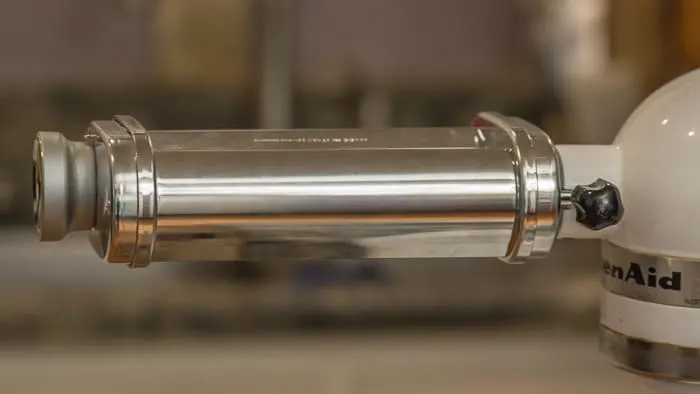
Another view o the roller attachment. The dial on the left side of my picture is where you adjust the thickness/thinness of the roll.
In regard to using a different pasta machine, if you have a different type of pasta machine, use what you have, and follow the manufacturer’s directions for rolling and cutting.
If you don’t have a pasta machine, you can STILL use this recipe, by simply rolling out the dough by hand, using a rolling pin, and cutting the noodles by hand. It will take a lot more work, but you can absolutely do it! How do you think Italian great grandmas made pasta in the olden days?
What Kind of Flour Should I Use for this Recipe?
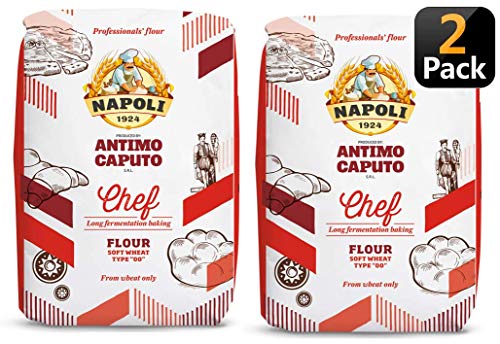
To give myself the best shot at making a homemade pasta that was authentically Italian, I ordered Double Zero or “00” flour from Amazon, since that’s what they use in Italy. I’ve included a link for that type of flour below the recipe card, so that you can order some, too, if you’d like to. The difference between All Purpose (AP) flour and “00” flour is that “00” flour exceptionally finely milled, and while its gluten is strong, it’s not very elastic. So “00” flour yields the silkiest results.
But guess what I learned?
All-Purpose flour is FINE to use in making pasta. If you use AP flour, you’ll still get delicious results, so don’t stress about not having any “00” flour. Go ahead and go for it, using AP flour.
Why Does Your Pasta Recipe Use 2 Eggs, Plus 3 Egg Yolks?
Egg whites add protein to your pasta dough, and egg yolks bring the fat. Fat, as we know, is flavor, plus it’s also what adds silkiness to the texture. That’s why fresh egg pasta is especially delicious when made with a few more egg yolks.
Why Do You Knead This Homemade Pasta Recipe By Hand?
Kneading helps all the ingredients become exceedingly well acquainted and become “at home” with each other. During kneading, the gluten strands develop within the dough, and build up a network. Ah, community!
When you first dump it out of the food processor to begin the kneading process, you’ll see it’s quite crumbly, and will need to be gathered all together into a ball.
While you’re kneading it, you’ll be able to get a real feel for if the dough seems too wet, or too dry. If the dough is too wet, it will be tacky or sticky. If it seems too wet, add a bit more flour.
On the other hand, if the dough seems too crumbly (as mine did) add a few more drizzles of olive oil, and that will enable the kneading process to go more smoothly.
How Long Should I Knead My Pasta Dough?
It’s going to take a lot of muscle to get your pasta fully kneaded: more than kneading bread dough, in my opinion. Most sources I’ve checked recommend at least five minutes of kneading. Mine took longer to reach a texture that felt silky (probably because it needed more oil), so I kneaded mine for about 10 minutes. But hey, who doesn’t need a little exercise when they’re going to be enjoying a lovely pasta dinner that evening? Am I right?
Why Do I Have to Allow My Pasta Dough to Rest?
Allowing the dough to rest makes sure all the flour is fully hydrated, allows the gluten strands you have developed to fully relax. It makes the rolling process go much easier. It’s a really important step, so don’t skip it!
After the pasta has rested for at least an hour (and longer is fine), it’s time to begin the rolling and cutting process.
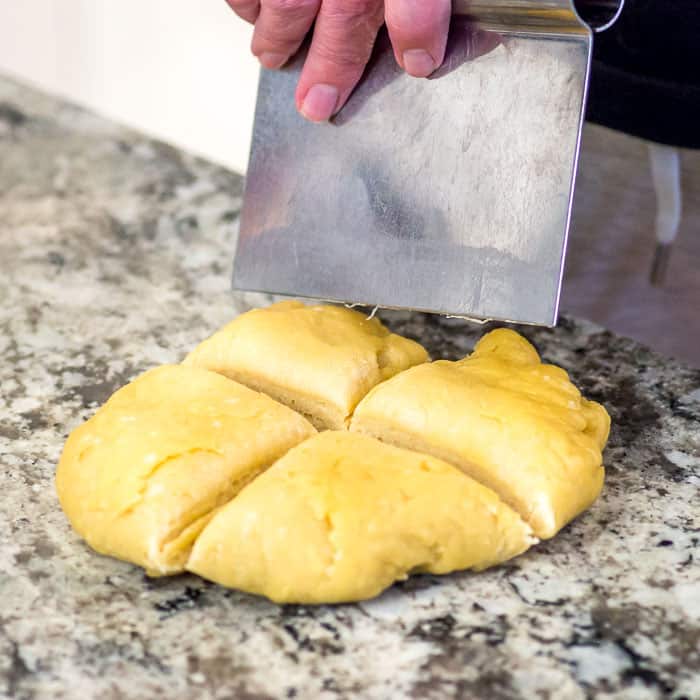

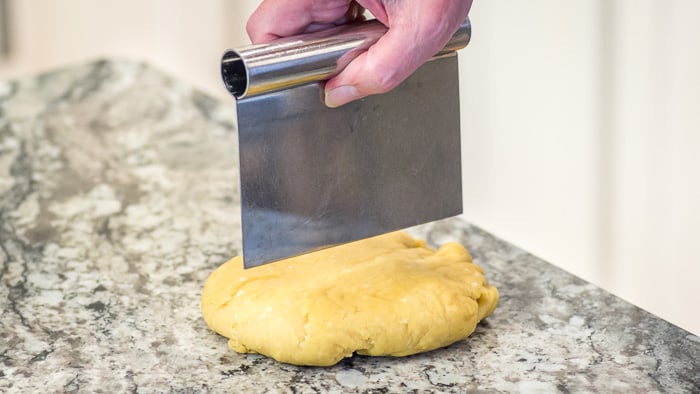
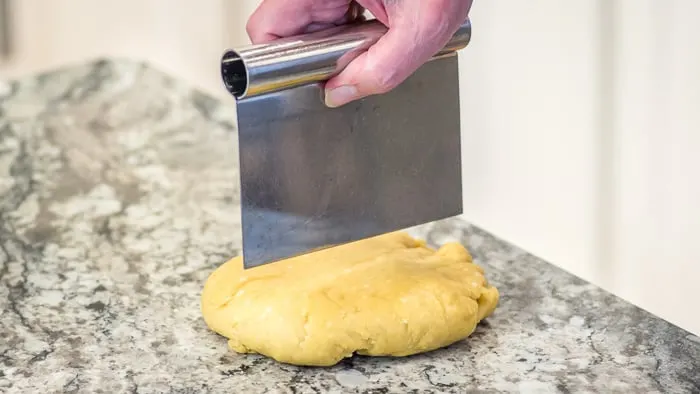
I used a bench scraper to divide the disc of pasta dough into 4 approximately equal sections. You’ll want to cover the pieces you aren’t working with with plastic, or a damp towel.
How Long Should I Cook My Fresh Egg Pasta?
Fresh pasta only needs to boil for 2-3 minutes. So taste a strand after it has boiled in very salted water for two minutes, and see what you think. If it still has a bit too much “chew”, give it another minute. The thinner you cut it, obviously, the less time it’s going to take.

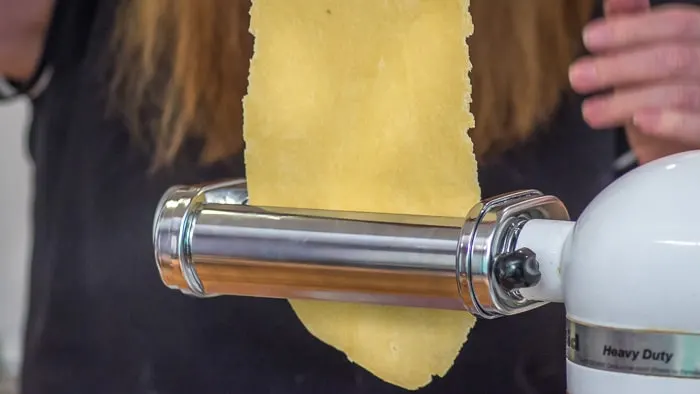
After rolling one fourth of your dough into a rectangular shape with a rolling pin, you feed the dough through the widest setting of the roller attachment.

After the first pass through the machine, fold the dough into thirds, and then feed it through the widest setting of the roller again, a few more times.

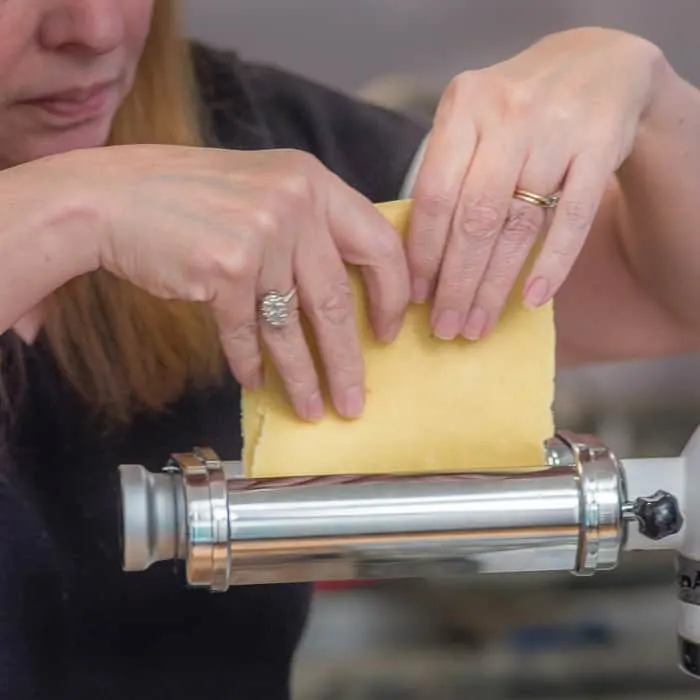
Feeding the folded dough through the widest setting of the roller attachment. Next, it’s time to gradually begin narrowing the roller setting, to produce a thin pasta.

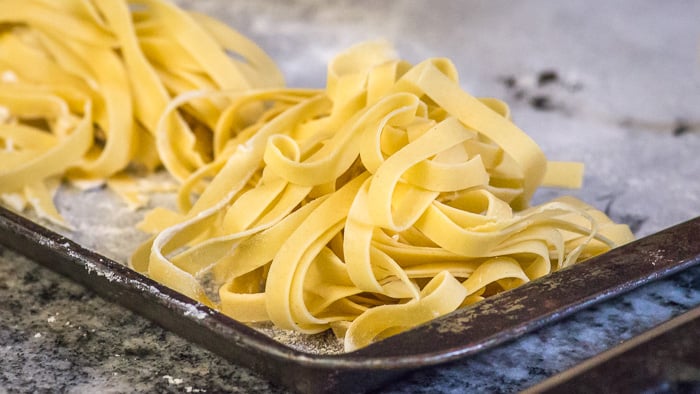
Here, you see I’ve removed the rolling attachment, and am using a different attachment that is for cutting. Mine has settings that will cut noodles the width of fettuccine, spaghetti, and capellini (Angel Hair) pasta. In this picture, I’m cutting fettuccine, which is approximately 6.5 mm wide.
Is Homemade Pasta Better Than Store-Bought Dried Pasta?
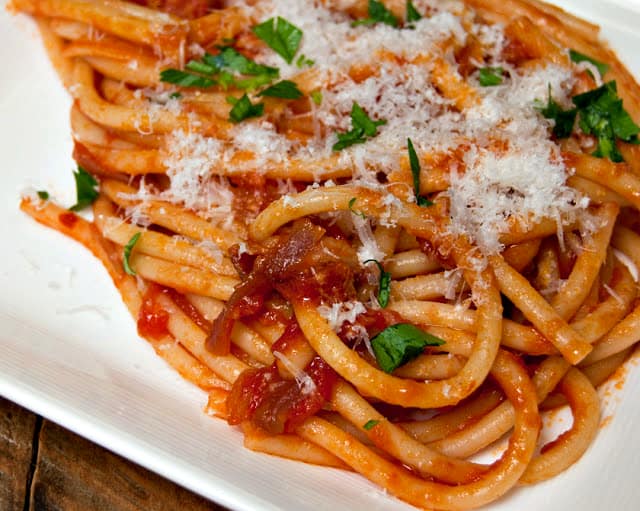
In short, yes. I find it to be more delicious, and it’s mostly a texture thing: it’s more silky. In regard to a flavor difference: well, yes, I’d give a slight edge to homemade pasta there, too. The flavor of fresh pasta needs a lot less dressing up. It’s delicious with an especially fruity olive oil, some salt, pepper and grated Parmigiano Reggiano.
Do You Have Any Ideas for Sauces to Go With Homemade Pasta?
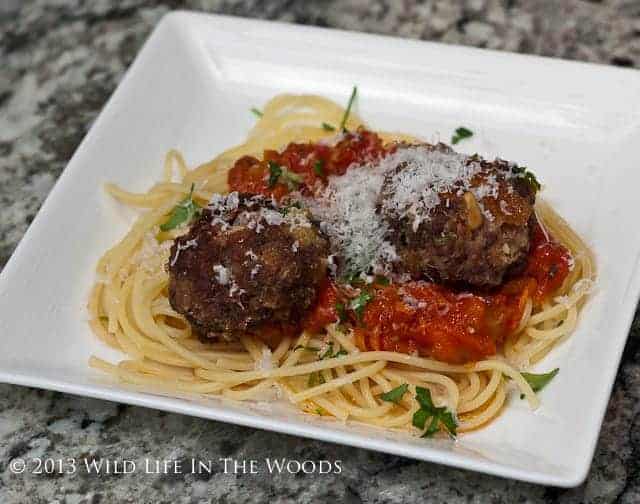
Oh, my heavens yes. One day, when my arteries finally completely clog, they’ll find them filled with pasta. It almost runs in my blood, anyway, despite my lack of Italian DNA. Let me suggest a couple of extremely easy but distinctive ideas that will set you free! My summer linguine couldn’t be more easy or more delicious. And then, there’s Beggar’s Linguine, which you can probably make from the dried fruits and nuts in your pantry.
Homemade Pasta Recipe With KitchenAid Pasta Attachment
A rich homemade pasta recipe that comes together easily using a food processor, and a KitchenAid Mixer Pasta Attachment.
Ingredients
- 2 1/4 c. (290 g) “00” flour, or all-purpose flour
- 3/4 t. sea salt
- 2 whole large eggs
- 3 egg yolks
- 1 tablespoon extra-virgin olive oil, plus a few drizzles more, if needed
Instructions
- In a food processor, pulse together flour and salt. Add eggs, yolks, and oil, and run the machine until the dough is beginning to hold together. If dough seems wet, add a little more flour. If dough is too crumbly, add a drizzle or two more olive oil.
- Dump dough and crumbs out onto a clean work surface knead together until very smooth. This will take a bit of muscle. Again, you can add a bit more flour, or a bit more oil, as needed. My batch of pasta needed more olive oil, in order to help with the kneading process. When the dough is smooth and supple, wrap it in plastic wrap, and let it rest at room temperature for one hour. This allows all the flour to become fully hydrated.
- Cut the dough disc into 4 portions. Work with one portion at a time, leaving the other portions covered in plastic wrap, or a dish towel, so as to not dry out.
- Attach the pasta roller attachment to your Kitchen Aid mixer, with the setting set at the thickest/widest level. Roll a portion of dough into a flat rectangle. Fold the sheet in thirds, like a letter, let it pass through the machine 2 more times at the widest setting.
- Move the dial to one click thinner, and pass the dough through two or three times before moving to the next thinnest setting. For pappardelle (1” wide) or fettuccine, stop rolling when the dough is 1 setting away from the thinnest setting on your roller.
- Place cut pasta on a flour dusted tray, sprinkle with flour, and cover with a dish towel, while you’re rolling and cutting the remaining portions of dough.
- Bring a large pot of water to a boil. Salt it well, and add fresh pasta strips. Boil for 1-3 minutes, depending on the thickness of your dough. (Sample a piece to be sure it’s cooked the way you like it.) Drain well. Serve with desired sauce, or simply some olive oil, salt, pepper, and Parmigiano Reggiano.
Recommended Products
As an Amazon Associate and member of other affiliate programs, I earn from qualifying purchases.

Nutrition Information:
Yield:
6Serving Size:
1Amount Per Serving: Calories: 318Total Fat: 7gSaturated Fat: 2gTrans Fat: 0gUnsaturated Fat: 5gCholesterol: 154mgSodium: 320mgCarbohydrates: 52gFiber: 2gSugar: 0gProtein: 10g

Please: pin this on Pinterest!
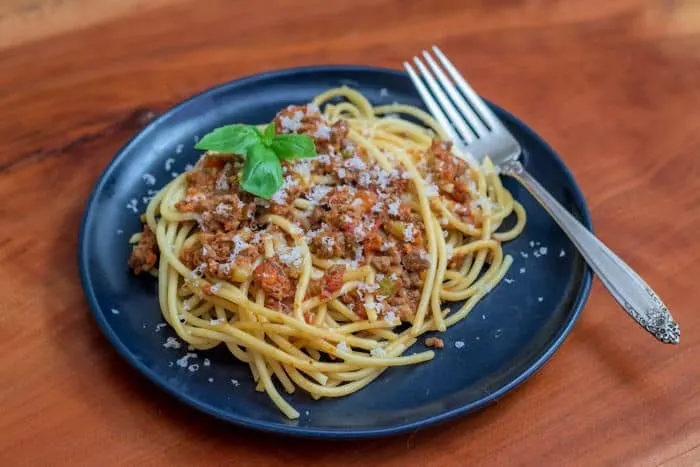
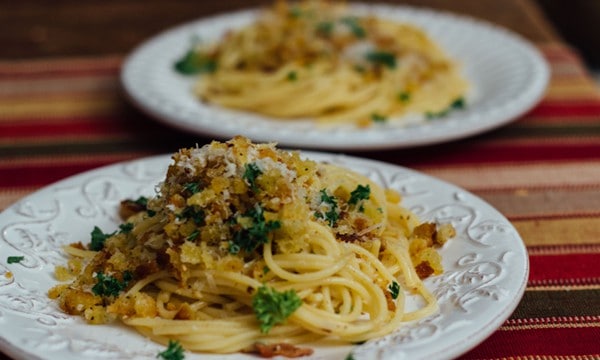
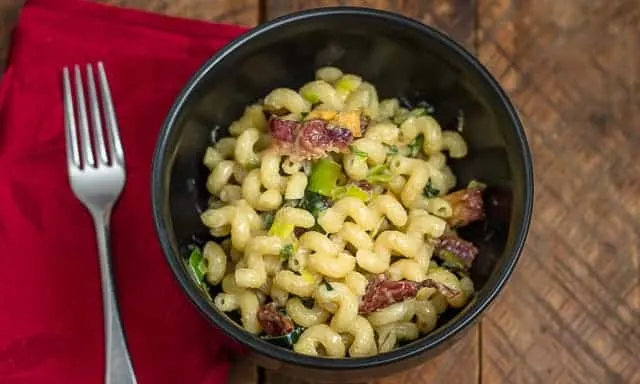
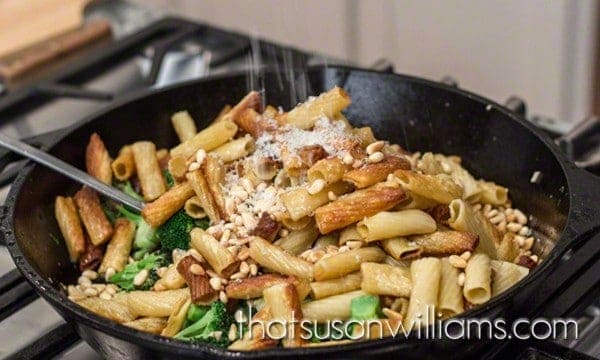
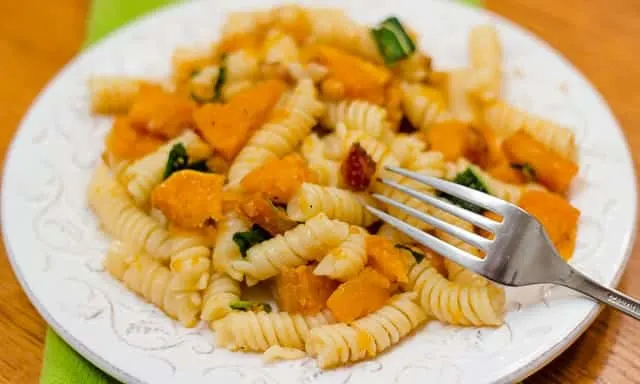
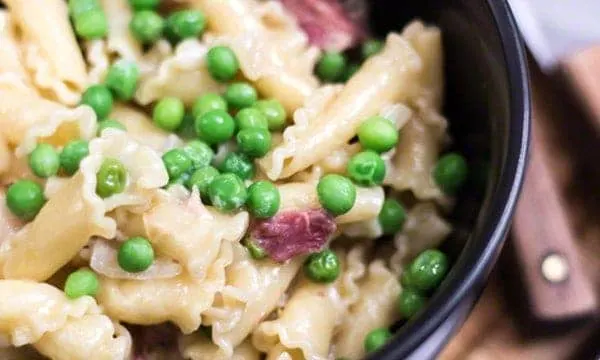
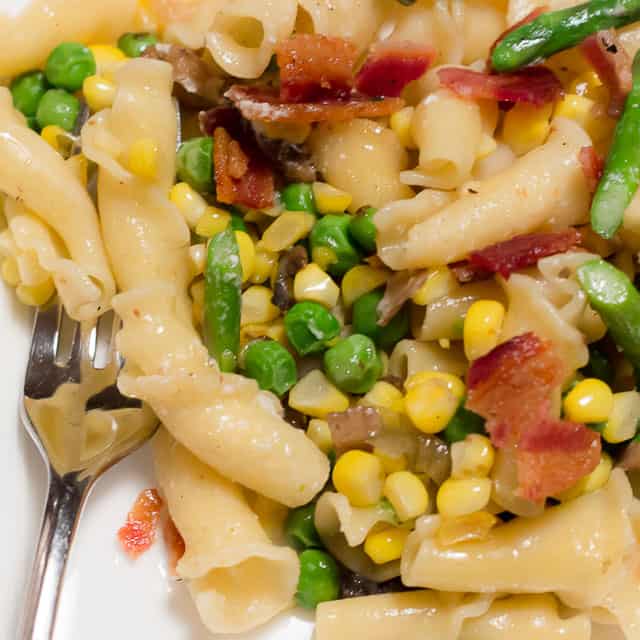
Just a few of my many pasta ideas, assembled here for your convenience.
I don’t want you to miss a one of them!
There's Never Enough Pasta
A collection of some of my favorite pasta recipes.