
This post contains links that, if you click on them and make a purchase, will earn me money. As an Amazon Associate, I earn from qualifying purchases. . Regardless, I only recommend products or services that I believe will be good for my readers. Thanks for helping me continue to produce great content!


This recipe for Homemade Extra Crispy Fried Chicken is more delicious, and even more affordable than the Colonel’s. You’re going to love it! And, surprise: it’s really not that difficult to do! You just need a few tips, and a reliable recipe.
And the best news is, you’ve come to the right place for tips, and the very best of recipes!

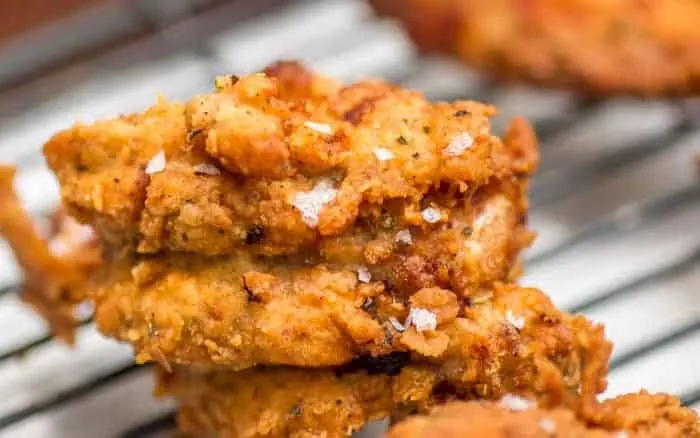
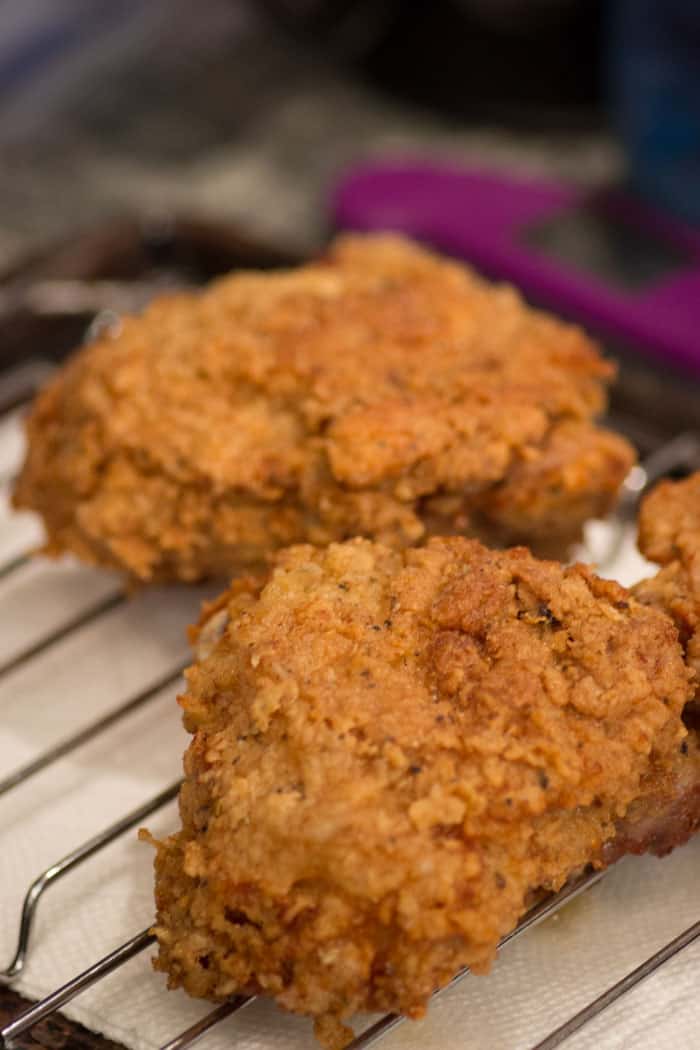
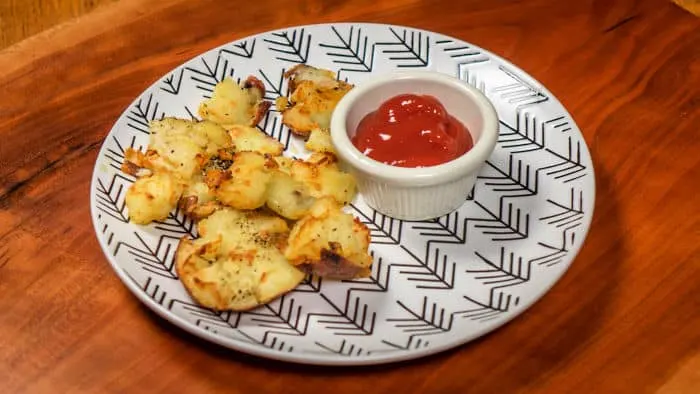
Doesn’t it look scrumptious? It is! Here you see my Homemade Extra Crispy Fried Chicken flecked with Maldon Sea Salt Flakes.
Do I Need Any Special Tools to Make Extra Crispy Fried Chicken?
Now, many of us know grandmas who have been making perfectly delicious fried chicken using nothing more than a brown paper bag, and a cast iron skillet for all their lives.
But science combined with the artistry of cooking has provided a few techniques regarding methods of frying chicken that will yield the most delicious results. So the following tips will help to make your fried chicken turn out juicy, flavorful, and truly crunchy!
A Dutch Oven:
Colonel Sanders used a pressure cooker, but you don’t have to. A cast iron skillet is beautiful for frying chicken, but mine doesn’t have a lid.
What you need is a Dutch oven with a tight fitting lid, for covering the chicken while it’s frying for the first 10 minutes. The oil will cool down significantly when you first place the chicken in it. The lid will help the oil heat back up more quickly, holding the heat and steam from the frying chicken in.

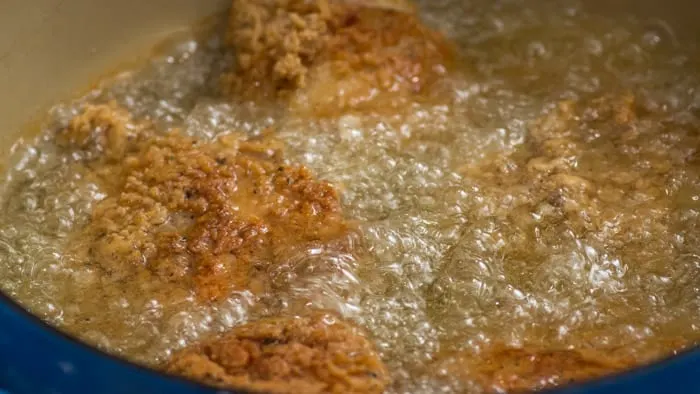
The chicken needs to cook covered in the Dutch oven for 10 minutes. Then, you fry until it’s golden brown, and remove it from the oil, where you check to make sure it has reached 160º for breasts, and 175º for thighs.
I have an enameled cast iron Dutch oven from Lodge, that I use. (Looks very similar to a Le Creuset enameled cast iron Dutch oven, but costs a little less.) I’ve linked one below the recipe card, if you don’t have one, but you’re finally ready to order one for yourself.
Tongs:
Lowering the breaded chicken into the oil, without splashing yourself can be tricky. The best tool I’ve found for the job are the tongs made by OXO, which have Nylon heads, so the edges don’t pierce or cut into whatever you’re lifting. I love mine. They’re also dishwasher safe. They’re linked below the recipe card as well.
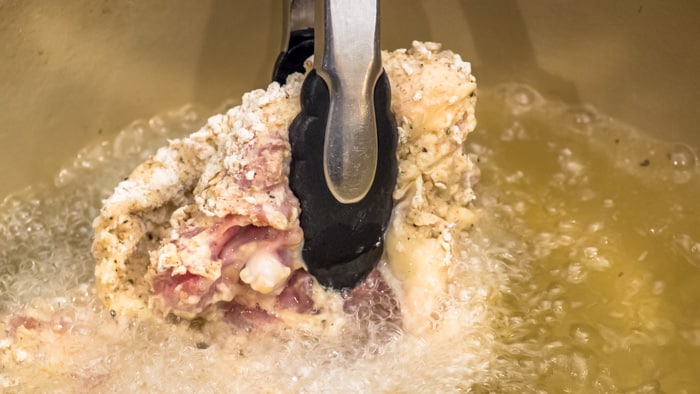

Gently lowering the breaded chicken into the 350º oil.
Baking Rack and Baking Sheet:
As I breaded each piece of chicken, I placed it on a wire baking rack set over a rimmed baking sheet. That all went into the fridge to chill for an hour before frying.
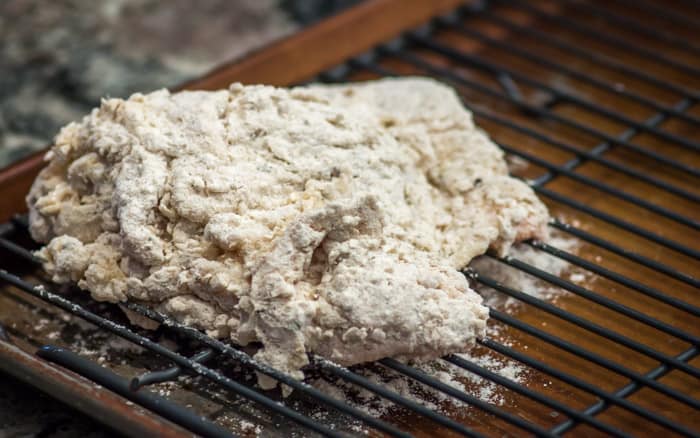

The breaded pieces of chicken go into the fridge for an hour to chill. This helps the breading adhere better.
After frying the chicken, I placed each piece on a clean wire rack, set over another baking sheet that I had lined with paper towels to catch any grease. That’s where the chicken rested, while I sprinkled it with Maldon Sea Salt flakes. (That is the opportune time to season any fried food: immediately after frying. )
Meat Thermometer:
I invested in a great thermometer that works for both the oil I use to fry chicken, and to check the temperature of the meat itself, when the chicken has reached that beautiful golden brown color.
Temperature is of critical importance in this recipe, both for the oil, and for the meat. The oil needs to be at 350º when you begin to place the chicken in it. It needs to stay at around 300º while you’re cooking. Dark meat needs to cook to 175º to be considered done, and light meat needs to cook to 160º.
The Chicken: What Kinds of Chicken Pieces Do I Need?
You can fry any old part of the chicken your heart desires, both dark meat, and light meat. This recipe calls for 3lbs of bone in chicken pieces. So you can use any combination of pieces your family is likely to prefer: all light meat (all breasts and wings), all dark meat (all thighs and drumsticks), or any combination thereof.
While preparing this post I used thighs, because they were on sale, and wings, because they were in my freezer, and my husband kept suggesting to me (4 times) that some wings might also be nice.

A little thigh action, for those of you who love some leg. Draining the chicken on a rack over paper towels to allow any excess oil to drip off, while also allowing the meat to rest for 5 minutes will keep the juices inside intact.
The only caveat is to remember in regard to dark meat vs. light meat, is that dark meat needs to cook to 175º to be done, and white meat only needs to make it to 160º. It’s safest and most accurate to only check the chicken’s temperature once it’s been removed from the oil, and is resting on the draining rack. (You can return it to the hot oil if it’s not done yet.) And let the fried chicken rest for 5 minutes on that cooking rack before serving. (That will serve to keep your lips from burning off, as well, in your eagerness to devour this lusciousness.) This is also the moment when you apply the final dose of seasoning, with those Maldon Sea Salt flakes.
The Brine: Do I Have to Brine My Fried Chicken?
No. The only thing you have to do is die, and pay taxes. HOWEVER, if you want to do what science and great cooks everywhere have figured out makes the BEST fried chicken, then YES, you SHOULD brine.
It’s very easy to do, and you only have to brine it for an hour to receive some benefit, if that’s all the time you have.
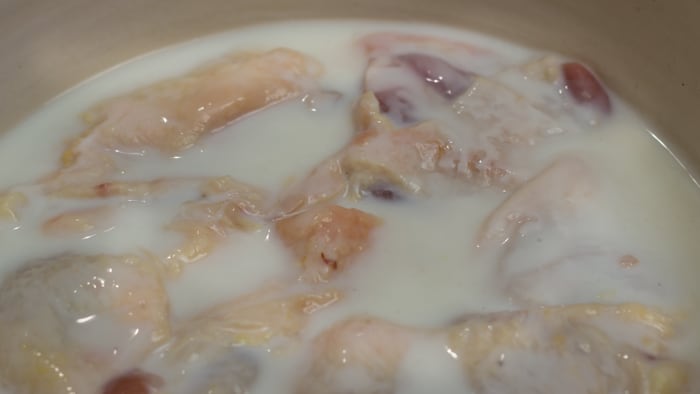
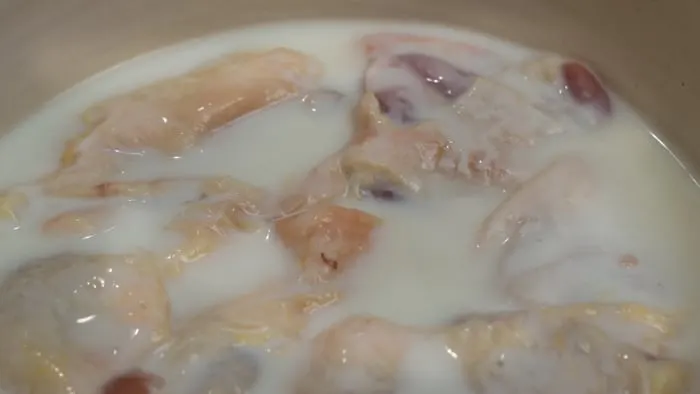
The buttermilk brine helps flavor and tenderize the chicken. Do it for at least an hour, and for up to 24 hours.
I used to brine my chicken for 12 hours in a salt water mixture, and for 12 hours in a buttermilk mixture. Holy Special Effort, Batman!
Buttermilk has a small amount of acid in it that ever-so-slightly breaks down the protein, making the meat more tender. A salt water solution gets drawn into the chicken through some cellular magic, making the meat more flavorful, and more moist.
So both my pre-soaks were good, for different reasons. The magic of THIS recipe is that the brine is made of both buttermilk AND salt, so it combines the two steps in one, making my life (and yours) much easier.
In terms of the length of time of the brine? One hour is enough to give you some benefit, but more time will probably result in more flavor. So up to 24 hours of brining is good. More than that will actually result in a texture change in the meat that is kind of mushy. And no one wants that.
The Oil: Does it Matter What Kind of Oil I Use?
It does. Any old neutral oil (canola, vegetable, or corn) can be used, if it’s a pinch. And in a pandemic? It’s often a pinch.
My old fried chicken recipe had me frying my chicken in a combination of half lard, half butter, and adding a stick of bacon to flavor up all that goodness. Wowee wow, right??? GREAT flavor, but I noticed that my chicken would look TOO brown on the exterior before the inside was done.
This time, I switched to peanut oil, which has a higher smoking temperature, and I heartily endorse that choice! The color of the chicken when the insides were done, was lovely, and perfect.
The Coating: Do I Have to Use Flour?
Heck no. You can use panko, or Cheetos if you want to. But I suspect that’s not why you came to this recipe. This recipe I’ve adapted, which I originally found on Cook’s Country (the country cousin of Cook’s Illustrated) reminds me so MUCH of the wonderful spice blend that can be bought from the Colonel from Kentucky, only it’s even better!
Tell Me About Your Spice Blend.
This is not Nashville Fried Chicken, despite the fact that I’ve lived in or near Nashville for 30 something years. If you want that, add a tablespoon of cayenne pepper or some ground ghost chili pepper powder to the flour and spice mixture, and burn your taste buds off. You’ll pay for it, the next day, as it exits the building. I’m practically a Nashville native. You can trust me on this.
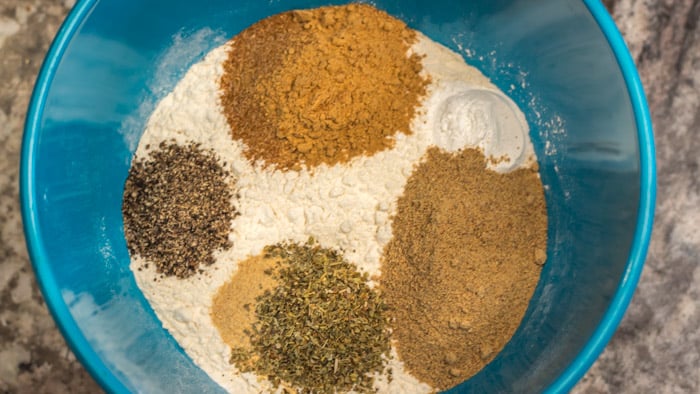
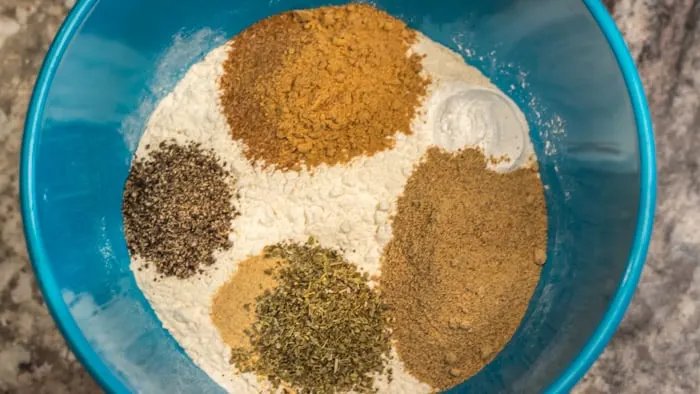
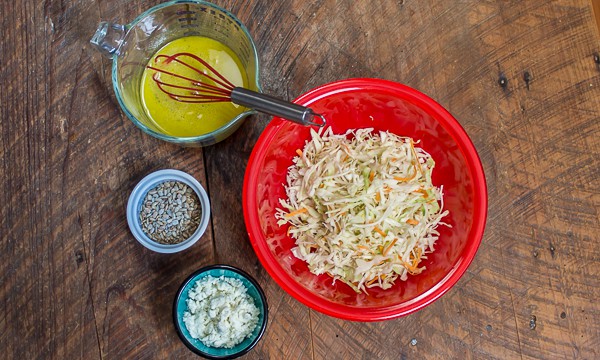
All my spices and baking powder are ready to be whisked together.
No, this blend of spices is flavorful, a little spicy, and savory and herby and excellent. You’ll love it. It’s a blend of white pepper, black pepper, celery salt, garlic powder, ginger, and Italian seasoning (an herb blend). With a touch of baking powder thrown in to give that coating a beautiful crunch, while preventing toughness.
Instead of the granulated garlic that the Cook’s Country recipe called for (granulated garlic is a bit hard to find in my neck of the woods) I substituted 1 and 1/2 teaspoons of garlic powder in my version for their 1 tablespoon of granulated garlic. Garlic powder is finer, so therefore more concentrated, or potent.
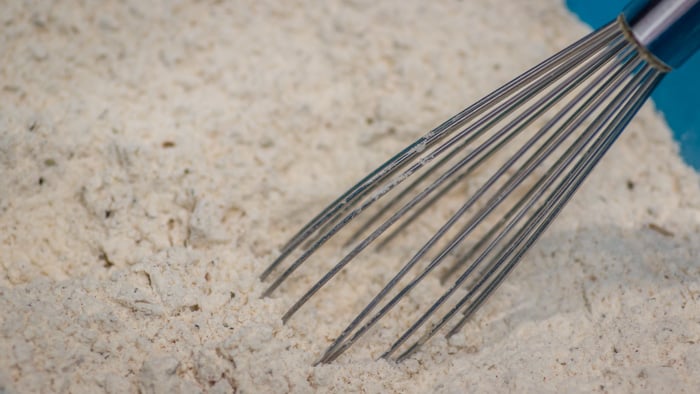

All the spices have been whisked and blended into the flour in this shot.
The Secret to Making Your Fried Chicken EXTRA CRISPY Fried Chicken
The secret to making extra crispy fried chicken is so simple! But I never would have thought of it, till Cook’s Country revealed it to me. You mix a bit of your buttermilk into your blended seasoned flour!

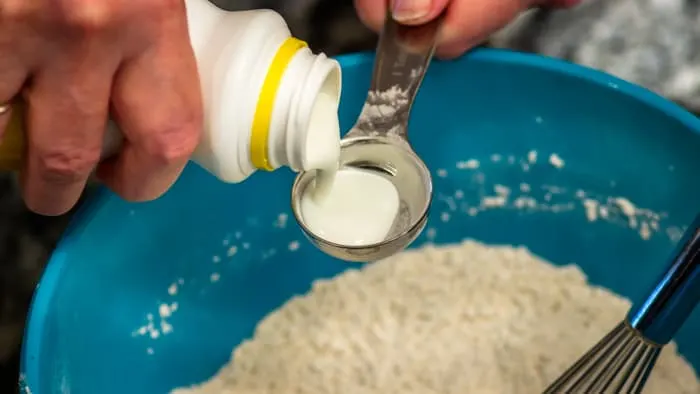
Adding a bit of buttermilk to the flour may sound surprising, but it’s an important step. Because if you do this…you get…
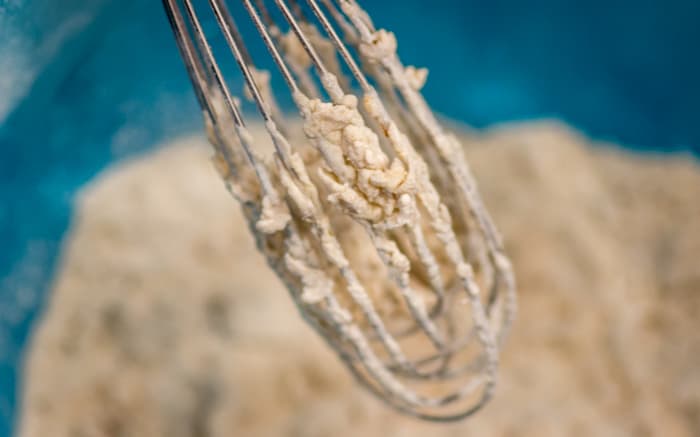

THIS!!! When you pour the buttermilk into the flour and spice mixture, little craggy bits develop. This is what makes the chicken EXTRA CRISPY. Brilliant, yes?
The Final Touch: Maldon Sea Salt Flakes
Look, I’m not sponsored by them or anything, but about a year ago I purchased a box of Maldon Sea Salt Flakes, because Alex Guarnaschelli told me (and the rest of the Food Network watching public) that the flavor and texture of this salt was perfectly lovely for finishing any fried foods. I bought them. Chef Alex knows whereof she speaks! I’m putting a link to this wonderful salt below my recipe card so you can order some for yourself. Perfect on top of steaks, baby! I highly endorse.
Doesn’t it look scrumptious? It is! Here you see my Homemade Extra Crispy Fried Chicken flecked with Maldon Sea Salt Flakes.
So now that you know all my tips and tricks, here it is, all nicely summarized and ready to print out!
The Recipe for Homemade Extra Crispy Fried Chicken
Homemade Extra Crispy Fried Chicken
Good old Southern Fried Chicken just got kicked up a notch, thanks to a buttermilk brine and the perfect savory, herby blend of spices!
Ingredients
- FOR THE BRINE:
- 2 c. buttermilk
- 1 tablespoon of salt
- FOR THE CHICKEN:
- 3 lbs. bone-in chicken pieces
- 1 1/2 quarts of peanut oil, for frying
- FOR THE COATING:
- 3 c. flour
- 3 tablespoons of freshly ground white pepper
- 1 tablespoon of freshly ground black pepper
- 1 tablespoon of celery salt
- 1 1/2 teaspoons of garlic powder
- 1 tablespoon ground ginger
- 1 tablespoon Italian seasoning
- 1 tablespoon baking powder
- 1/2 teaspoon salt
- 6 tablespoons of buttermilk
- FOR SEASONING AFTER FRYING:
- approximately 1 teaspoon of Maldon Sea Salt Flakes
Instructions
- FOR THE BRINE: Whisk buttermilk and salt in large bowl until salt is dissolved. Place the chicken pieces in the buttermilk brine. Cover with plastic wrap and refrigerate for at least 1 hour or up to 24 hours.
- FOR THE COATING: Whisk the flour, white pepper, pepper, celery salt, garlic powder, ginger, Italian seasoning, baking powder, and salt together in large bowl.
- Add buttermilk to the seasoned flour mixture, and, using your fingers, rub flour mixture and buttermilk together until craggy bits form throughout.
- Set wire rack in rimmed baking sheet. Working with a piece of chicken at a time, remove from buttermilk brine, allowing the excess to drip off, then place into the seasoned flour mixture, turning to thoroughly coat and pressing to adhere.
- Transfer the breaded chicken to the prepared wire rack, skin side up. Refrigerate, uncovered, for at least 1 hour or up to 2 hours.
- Set a clean wire rack in a clean rimmed baking sheet and line with paper towels.
- Add oil to large 6 quart Dutch oven until it measures about 1 inch deep and heat over medium-high heat to 350 degrees.
- Add all chicken to oil, skin side down in single layer (some slight overlap is OK) so that pieces are mostly submerged.
- Place the lid on the Dutch oven, and fry covered for 10 minutes, rotating pot after 5 minutes. Adjust burner, if necessary, to maintain oil temperature around 300 degrees.
- Remove Dutch oven's lid (the chicken will be golden on sides and bottom but gray on top) and carefully flip each chicken piece. Continue to fry, uncovered, until chicken is golden brown and breasts register 160 degrees and drumsticks/thighs register 175 degrees, 7 to 9 minutes longer. (Remember to only check the chicken's temperature when it's on the rack, and not while it's frying in the pot, for safety and accuracy.)
- Transfer chicken to paper towel lined rack and let rest for 10 minutes. Season by sprinkling it with Maldon Sea salt, while it's still hot. Enjoy, baby!.
Recommended Products
As an Amazon Associate and member of other affiliate programs, I earn from qualifying purchases.
-
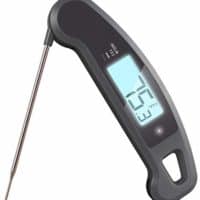
 Lavatools Javelin PRO Duo Ambidextrous Backlit Instant Read Digital Meat Thermometer (Sesame)
 -
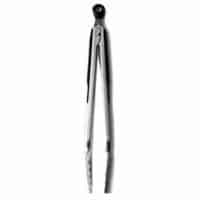
 OXO Good Grips 12-Inch Stainless-Steel Locking Tongs
 -
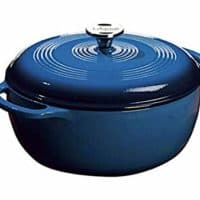
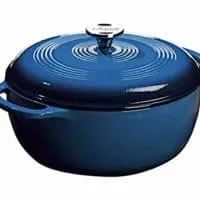 Lodge 6 Quart Enameled Cast Iron Dutch Oven. Blue Enamel Dutch Oven (Blue)
 -

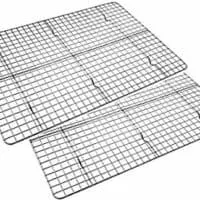 Checkered Chef Cooling Racks for Baking - Baking Rack Twin Set. Stainless Steel Oven and Dishwasher Safe Wire Cooling Rack.
 -
 Maldon Salt, Sea Salt Flakes, 8.5 oz (240 g), Kosher, Natural, Handcrafted, Gourmet, Pyramid Crystals
Nutrition Information:
Yield:
6Serving Size:
1Amount Per Serving: Calories: 2634Total Fat: 238gSaturated Fat: 43gTrans Fat: 0gUnsaturated Fat: 183gCholesterol: 269mgSodium: 2898mgCarbohydrates: 56gFiber: 3gSugar: 5gProtein: 70g
Not even close to all the oil is absorbed by the chicken. This calorie count is not even close


Please, pin this on Pinterest!
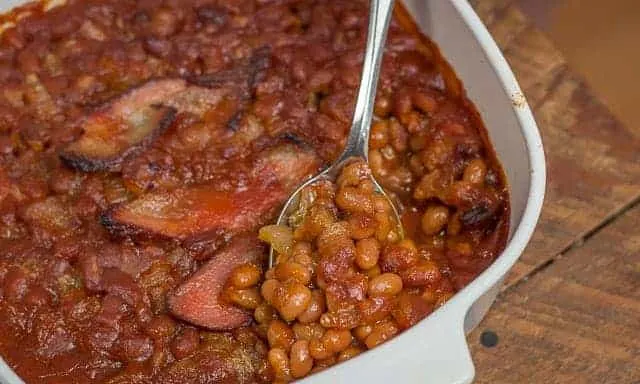
If you’re looking for side dishes to go with this delicious homemade extra crispy fried chicken, check out my recipe for shamefully easy and delicious coleslaw.
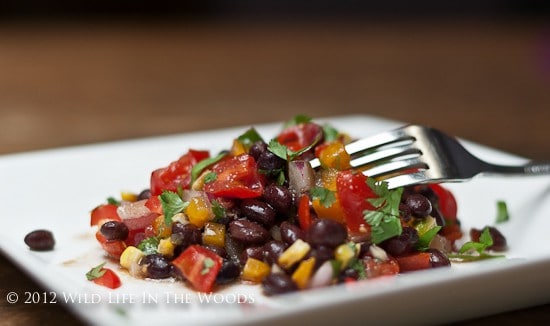
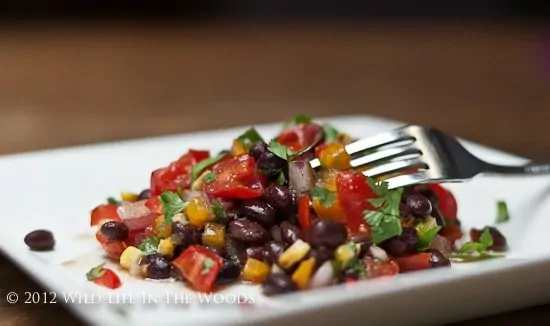
Side Dishes for Summer
Here are some great side dishes for summer that use all that glorious produce that's in season. I know you're going to love them!


You've never had coleslaw like this before! It couldn't be easier, or more delicious.
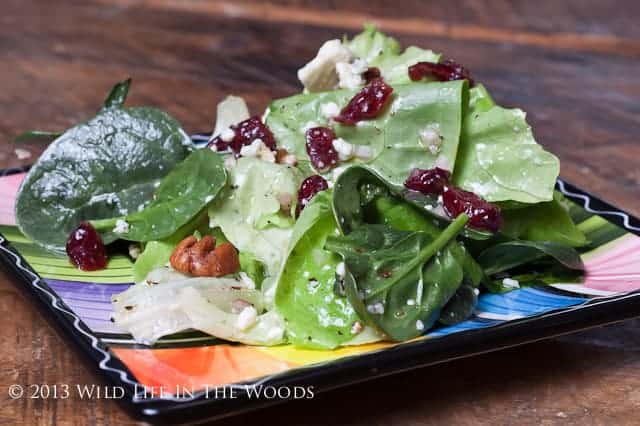

The Salad to Bring When They Ask You To Bring A Salad really IS the salad to bring to a dinner that friends are throwing....or to a dinner at your own house. The flavors and textures are well balanced and unforgettably delicious!

Danielle
Saturday 4th of October 2025
First time trying this chicken. Looks perfect! I'd attach a picture but don't see a way to do that!