
This post contains links that, if you click on them and make a purchase, will earn me money. As an Amazon Associate, I earn from qualifying purchases. . Regardless, I only recommend products or services that I believe will be good for my readers. Thanks for helping me continue to produce great content!
If you’re looking for an easy recipe for how to make homemade ricotta cheese, you’ve come to the right place. Cheese making is somewhat mysterious to most folks, but oh, how we do crave the stuff!!! Don’t you think it would be kind of fun to learn how to actually make cheese, at home? And what if you used that sous vide you got as a present? No chance of scorching the milk!!!
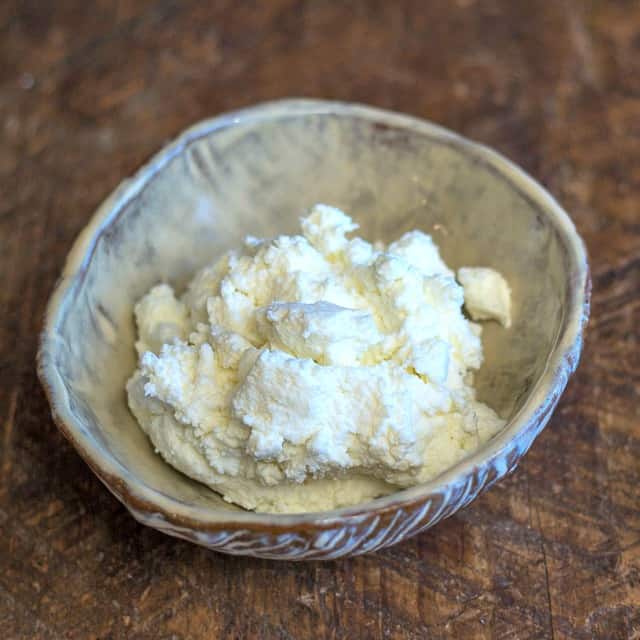

The end result. Easy, homemade ricotta cheese.
Ricotta is kind of a gateway cheese into the whole cheese making process. The word “ricotta”, which is Italian, actually means “twice cooked”. You won’t believe how easy it is to make your very own homemade ricotta cheese!
I’ve always been one who loves to learn about food science, and who enjoys going back to to food at its most elemental level, to learn how the process works. Once you understand the basics, it’s easier to understand why particular methods of cooking bring out the best flavors and textures in your food.
Now, don’t let the words “food science” put you off. I’m not going to geek out, too much. (Although I have been known to make my own sourdough bread. And roast my own coffee beans. And make my own wine. )
When it comes to making your own homemade ricotta cheese, it really is about as simple as a nursery rhyme you may have learned a long time ago. You remember “Little Miss Moffet”? The girl who sat on her toffet? Eating her curds and whey?
(Although WHY she ate the WHEY is a bit of mystery to me. Let’s chalk it up to changing culinary tastes.)
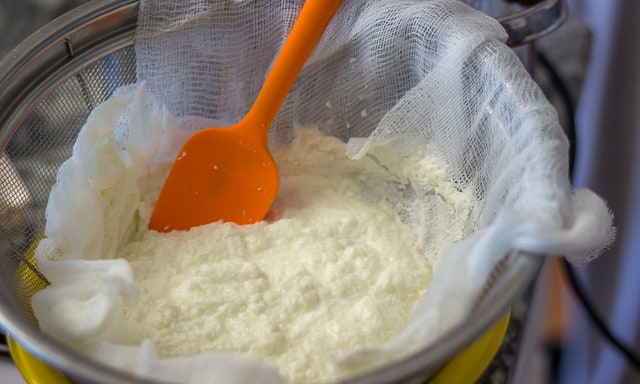
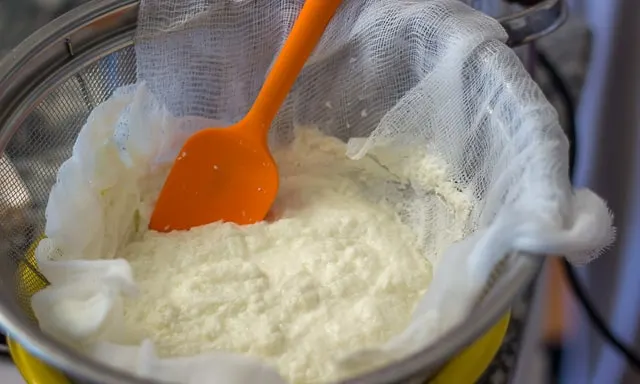
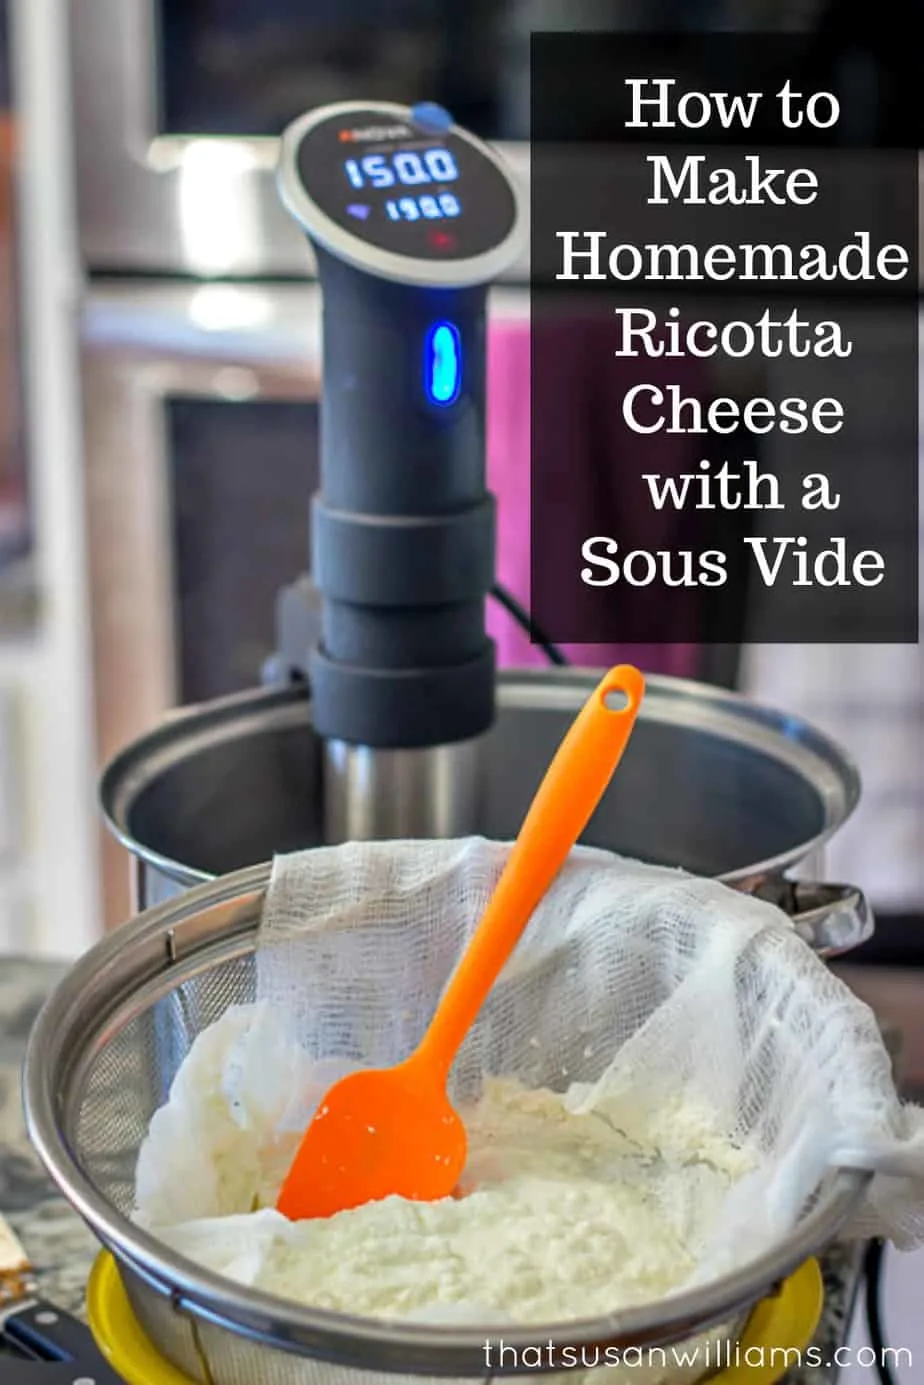
Here’s what she looks like while she’s draining. Also…just in case you’re uncertain what cheesecloth looks like, this is it.
Anyway, here’s how easy the basic process to make your own homemade ricotta cheese is. To make it, you take some milk, add some acid and a bit of salt, heat it, and voilà! The milk, almost miraculously, separates into curds (which are the little chunks…think cottage cheese), and a more watery looking liquid that’s called whey. Then, you strain all of it through some cheesecloth, set over a colander and a bowl, and you have just become a cheese maker.
And as we all know, blessed are the cheese makers.
For those of you who abhor food waste, and who would hate to waste some perfectly good whey (“Waste it? No whey, man!”), my research tells me that you can use it in place of water if you’re making stock or a soup. Or add it to your smoothie. More protein. (Remember seeing “whey protein” on those canisters you bought to beef up your smoothies?) Or, you could use it as the liquid in any bread you might be making. Or use it as part of the liquid you’d add to any vegetable you might be fermenting. But I poured my whey down the drain, and moved on with my life. No need for one more science project in my fridge, at present.
And if you’re not into throwing away cheesecloth, I have also read that you can use flour sack towels for straining the ricotta. I’ve included a link below the recipe, if you love the idea. Cut a flour sack towels into 4 pieces, and when you’re done making cheese, you can rinse it out and throw it in your next load of white laundry.
How Homemade Ricotta Cheese Can Go Wrong
In years past, I tried a couple of different recipes for making ricotta. One turned out great. But one didn’t. And there are at least a couple of different variables that might have been why my second attempt failed.
Reaching and maintaining a precise temperature range is really critical, when you’re making homemade ricotta cheese. And as I recall, in my second effort. I scorched the milk onto the bottom of the pan. (And that’s really hard to clean up, by the way!)
I’m solving that problem by using a method that will absolutely, positively cause your milk to reach and hold the proper temperature for as long as you tell it to. And I’m using my Christmas present from my husband to do it. (Which was really a present for himself, in my opinion. But don’t tell him I told you.)
Let Me Tell You About My Christmas Present
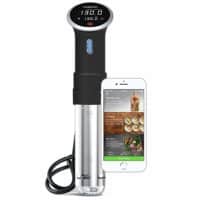
For Christmas, my husband bought us a Sous Vide, which is pretty much a hot tub, for your food. Speaking of food science, it’s a really fun, exceptionally dependable method for helping your food reach, and hold, a particular temperature.
I’m an Amazon affiliate, and the link for the Sous Vide (and the links for all the products you’ll see recommended below the recipe) IS an affiliate link, which simply means that if you go look at something having used that link, and purchase it, I’ll earn a small commission. Helps us pay a bill here and there, and will keep me cranking out content here on the blog. I linked the same model we purchased, because I *know* it works great.
My husband bought an Anova Sous Vide, which comes with an app that makes it bluetooth functional, so we can literally set the temp and forget it, and our phone will tell us when that temp has been reached, and how much cook time remains. Super cool. We’ve been VERY pleased with it, and have been having lots of fun playing with all kinds of recipes, using it.
Back to the second variable you need to know about, if you’re going to make ricotta cheese. It’s important to take into consideration percentage level of acid in the acid you’re using to form the curd. Some recipes call for lemon juice, but some lemons are more acidic than others. What makes the recipe I’m sharing more dependable is that it calls for distilled white vinegar as the acid. The acid level of distilled white vinegar is a standard 5%, and its flavor is neutral. You can, if you prefer, use the same amount of lemon juice as vinegar, and decide which flavor you prefer.
I found this recipe in a cookbook I purchased shortly after receiving that Sous Vide for Christmas, called “Sous Vide for Everybody”, which is edited by America’s Test Kitchen. Their recipes are super dependable, because they really DO geek out on the whole food science aspect of cooking, and that was just what I was looking for, as I began experimenting with my new Christmas Toy.
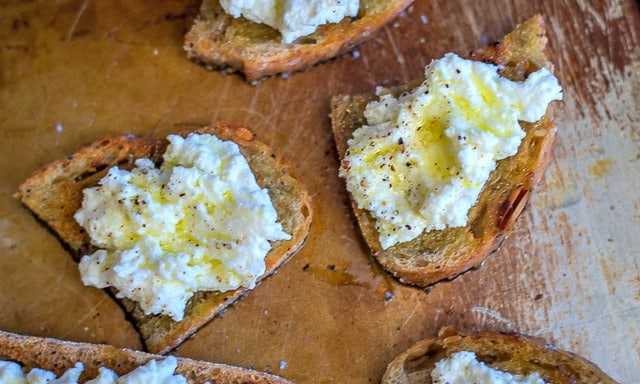

I fried my artisan bread in a little olive oil. Then I spread it with my homemade ricotta, drizzled it with extra virgin olive oil, and sprinkled on some sea salt, and freshly ground black pepper. Beautiful as a simple appetizer with a glass of wine.
I really didn’t alter their recipe for Ricotta Cheese one bit. Hope you like it. You can, as I did here, just spread it on fried bread, with olive oil, salt, and pepper for a delicious appetizer, all by itself. It’s also luscious spread on that toast, and drizzled with your favorite honey. (My favorite variety of honey is sourwood.) Or use the ricotta as a bed on that toast for some chopped tomatoes and basil, and maybe a splash of balsamic vinegar. Or as a bed for other roasted veggies. Or in a pasta sauce, with herbs, and lemon, and olive oil, and maybe some sliced grilled chicken, or roasted garlic. It’s great in cheesecakes, or in cookies, as well. In other words, there are MANY possibilities for how you can use your very own homemade ricotta, made in a sous vide!

Blessed are the cheesemakers! Let’s do this thing!!!
How to Make Homemade Ricotta Cheese With a Sous Vide
The gateway cheese for cheese maker wannabes, you'll learn a lot by making this, and you won't believe how easy it is!!!
Ingredients
- 8 cups whole milk
- 5 Tablespoons of distilled white vinegar
- 1 teaspoon of salt
Instructions
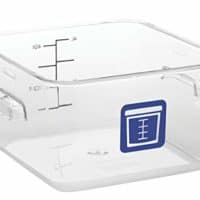
- Attach your Sous Vide to the edge of a 7 quart container. Fill container with water to the recommended level, and heat water to 190º F.
- Whisk together all the ingredients in a large bowl (it helps if the bowl has a handle and a spout). Pour mixture into a 1 gallon freezer Ziplock bag. Seal bag, pressing out as much air as possible. Lower Ziplock bag into water bath, being sure that the part of the bag that holds the mixture is fully submerged. Clip the top of the Ziplock to the side of the water container. Reopen one corner of the bag to release any remaining air bubbles, and securely seal the bag. Cover the top of your container with plastic wrap, as much as possible, to contain heat. Cook until milk mixture separates into solid curds, and translucent whey, about 30 minutes. (If curds have not yet separated out, you can cook it an additional 10 minutes.)
- Remove bag from water bath, and allow to cool for 10 minutes. Set colander over large bowl. Line the colander with a double layer of cheesecloth. Gently pour the cooled mixture through the colander that's been lined with cheesecloth. Let whey drain through, stirring mixture occasionally to encourage draining process. This will take another 30 minutes. Discard strained whey. Or keep it. That one's on you, if you read this post. Transfer cheese to bowl, and chill about 2 hours.
Recommended Products
As an Amazon Associate and member of other affiliate programs, I earn from qualifying purchases.


JC 60010
Saturday 12th of September 2020
My Anova pre-set to 190 as recommended cooled down significantly upon adding 8 c. milk, vinegar & salt mix. Should I set temp. higher to begin with to account for the cooling or will an on-going temp. of approx. 178-184 end in a good ricotta?
Susan Williams
Thursday 17th of September 2020
Dear JC,
I think you will still obtain a good result at that temperature, after doing some googling of other recipes.