
This post contains links that, if you click on them and make a purchase, will earn me money. As an Amazon Associate, I earn from qualifying purchases. . Regardless, I only recommend products or services that I believe will be good for my readers. Thanks for helping me continue to produce great content!
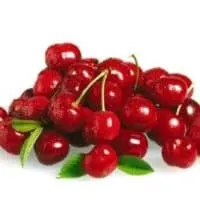
I wish I could tell you that this recipe for The Best Homemade Cherry Pie, made with frozen sour cherries, was a sponsored post. And I’m just going to go ahead and put this out there, right now, to the Cherry Marketing Institute, and the good people of Michigan: I’m available. Send me lots and lots of frozen, pitted sour cherries. PLEASE!!!
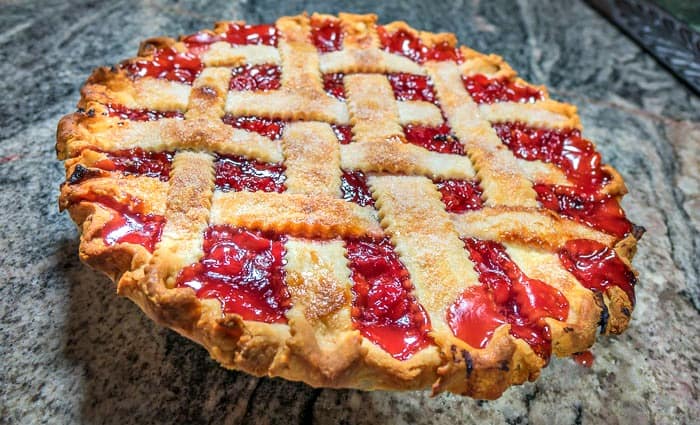

I don’t even have the words to tell you how glorious this pie, made from frozen, pitted sour cherries from Michigan is. Best. Pie. Ever. That will have to suffice.
If that picture isn’t enough to tell you how crazy AWESOME this pie is, then take a look at this video my husband shot, and scored. You’ll notice that he used the wah-wah pedal on his guitar, which makes it sound almost… naughty. Hence, this movie comes as close to being Food Porn. So grab a napkin to wipe the drool that’s about to flow, and enjoy.
How Do You Make a Cherry Pie Using Frozen Cherries?
Start by thawing your cherries, either on the counter, or overnight, in the refrigerator. After you’ve thawed your cherries, pour the cherries into a colander, that’s been placed over a large bowl. The large bowl is to catch and reserve the sour cherry juice. underneath, to catch the juice.
You’ll need between two and two and a half pounds of cherries. Remember that some of that weight is going to be the juice, and you’ll likely have more juice than you need. You’ll only need about 2/3 of a cup of cherry juice in the pie.
What I Did with the Leftover Cherry Juice:
I added the leftover cherry juice to a vodka tonic, and it was delicious! You could also make it into a simple syrup: equal parts juice and sugar, heated till the sugar dissolves, and add it to drinks, or pour it over ice cream. Don’t waste a precious drop! It’s scrumptious!!!
Now that you’ve got your thawed cherries, and you’ve measured out the appropriate amount of cherry juice for the filling, you’re ready to MAKE that cherry pie! Before I give you the recipe, I have some pictures for you, to give the general idea.

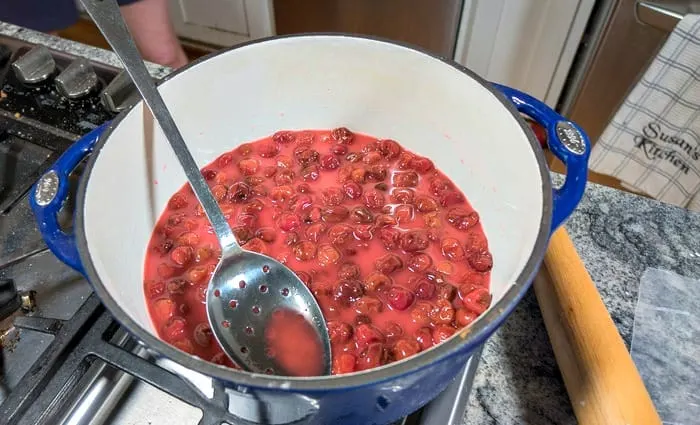
Heating the cherries and the cherry juice in the pot, with the sugar, cornstarch, and salt. The cornstarch makes the cherry juice look cloudy, at first, until things heat up.
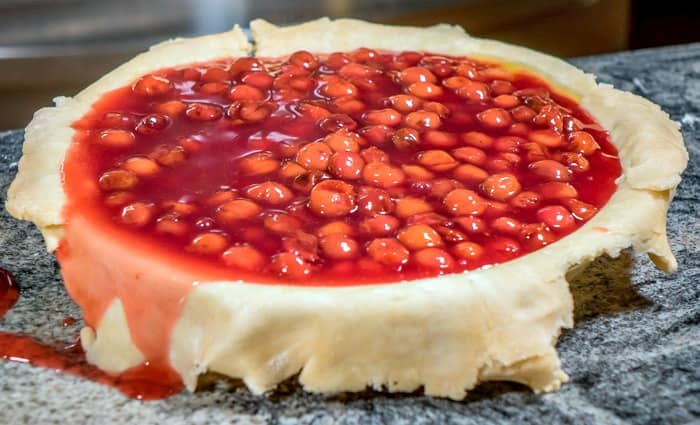

Here, you can see why you don’t want TOO MUCH cherry juice in your pie. My pie runneth over.
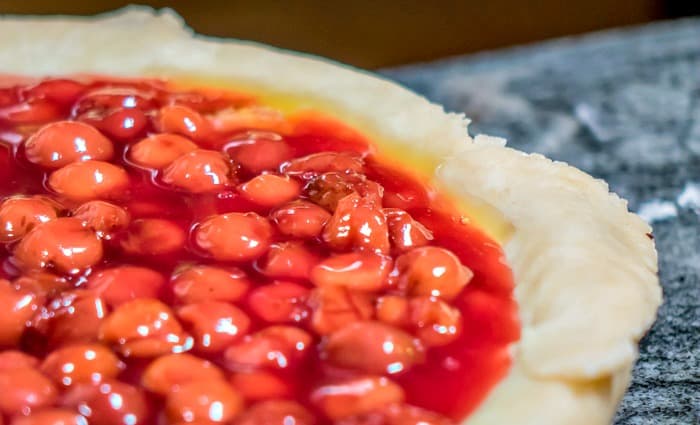

The butter and almond extract get added to the pot, last, and then you pour the filling into the pastry. See where the butter finished melting, over on the side? Makes me so happy!
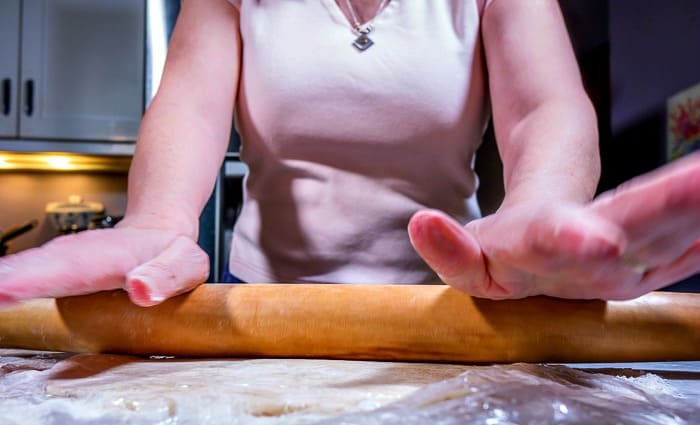

Rolling out the pie crust pastry. Look closely at the foreground. You might be able to see that when I roll out my pastry, I use wax paper on the bottom, sprinkled with flour. (Easier cleaning up the counter that way.) Then I cover the pastry itself with plastic wrap, and roll the pastry out, with the plastic wrap between my rolling pin, and my pastry. I can still see the crust, but nothing sticks to the pin. Genius.
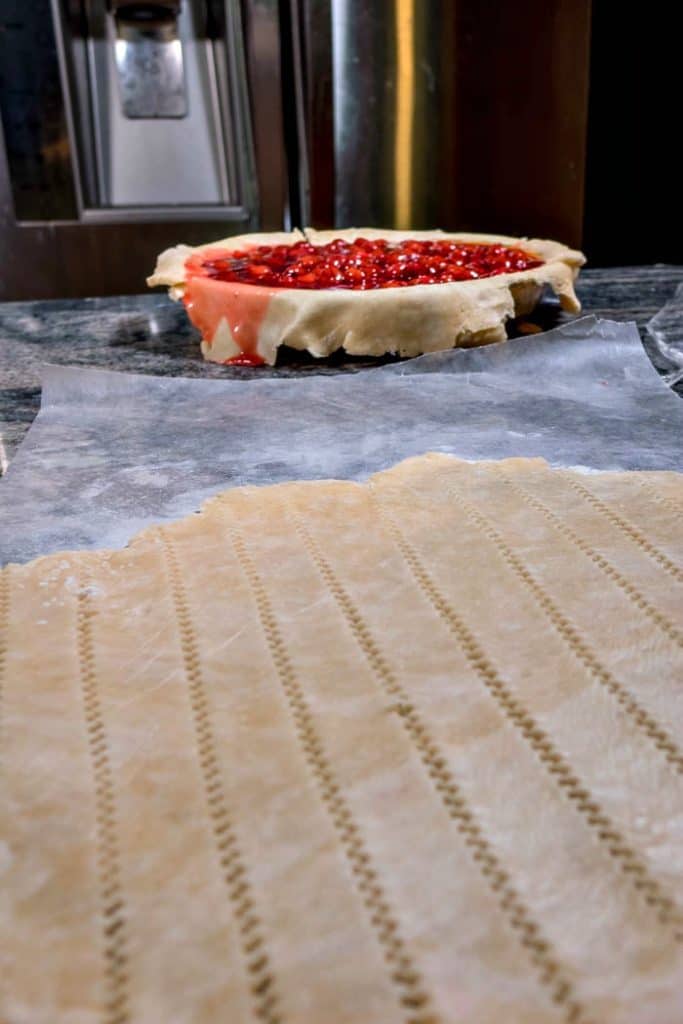
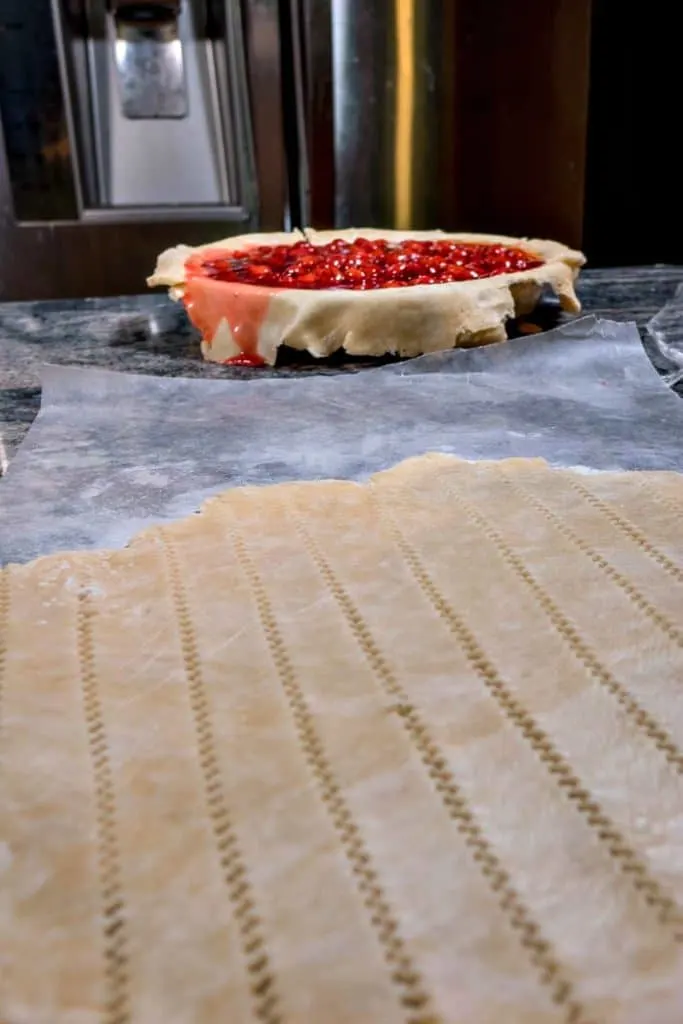
The long view of the pastry strips I cut. My husband: so artsy.

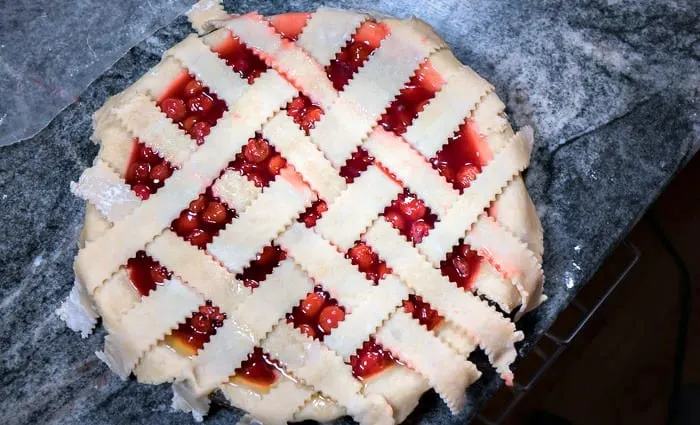
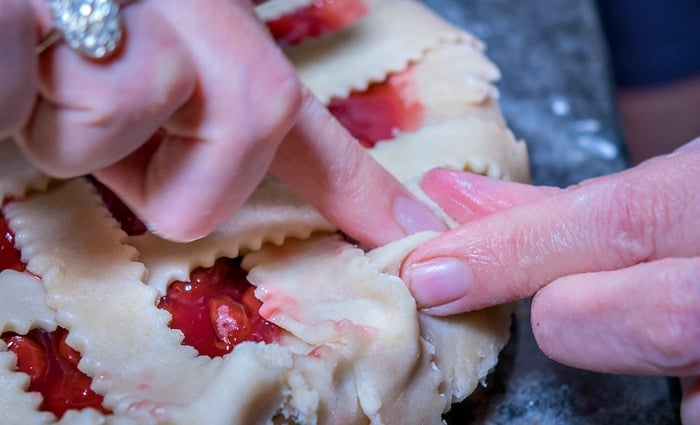
I had just finished the lattice weaving. (Lattice pray it doesn’t look too bad, is what I was thinking.)
How Do You Weave A Lattice Crust?
You can make your strips of pastry as fat or thin as you like. It appears that I made 8 strips total, but that’s not a religious tenet I hold to. But I appear to have used 4 on one side, and 4 on the other.
If you REALLY want to know how to leave a lattice crust, there are videos out there that will show you how. But if you can picture what I’m talking about with words…here we go:
Place strips across the pie, going in one direction. Then repeat the process of alternately folding back every other strip and laying a strip perpendicular to the original strip, until the pie is woven. (Think: strip 1 and 3, and then 2 and 4). Hope that helps.

Fluting the edge of the pie crust.

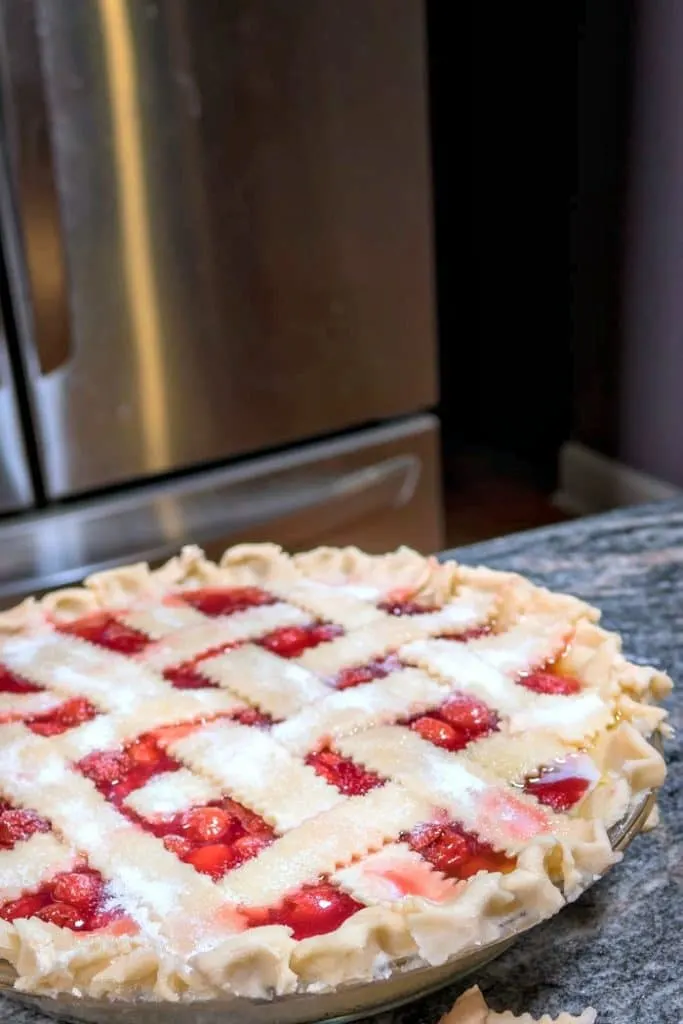
Finally, brush the top of each strip with a little milk or cream, and sprinkle them with some sugar. Because, why wouldn’t you??? And then, trim off the edges. Use them to make a pie crust cookie.


This recipe uses Sour Cherries from Michigan that are pitted right there in the field, frozen, and shipped to you, to make the Best Homemade Cherry Pie. Pin this on Pinterest, please!
And now, on to the recipe:
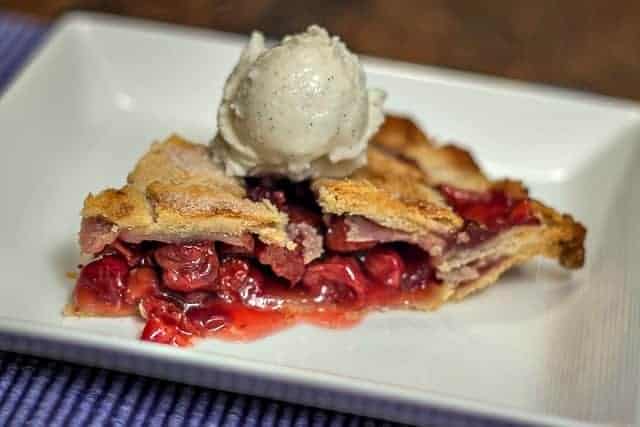
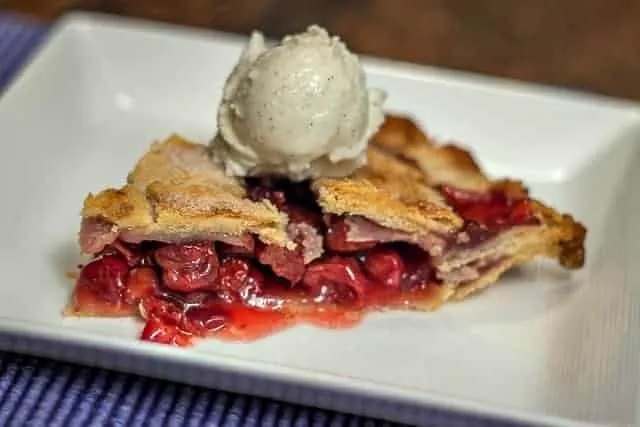
Slice of Cherry Pie, A La Mode, because this lily wants to be gilded.
The Recipe for the Best Homemade Cherry Pie:
The Best Homemade Cherry Pie
Wondering how to make homemade cherry pie? My recipe for how to make The Best Homemade Cherry pie, uses pitted, frozen sour cherries from Michigan.
Ingredients
- 1 c. sugar
- 3 tablespoons cornstarch
- 1/4 teaspoon salt
- 2/3 c. cherry juice
- 2 - 2 1/2 lbs. of frozen sour cherries
- 1/2 teaspoon almond extract
- 2 tablespoons butter
- Pastry for double-crust 9" pie
- 2 teaspoons milk
- 1 tablespoon sugar
Instructions
- Combine sugar, cornstarch and salt in a medium saucepan, stirring to remove lumps.
- Stir cherry juice into sugar mixture. Cook over medium heat until smooth, stirring constantly. Add cherries.
- Simmer until liquid is thickened and transparent, about 4 minutes. Stir once or twice. Add almond extract and butter, stirring until butter melts. Allow mixture to cool.
- Roll half of pastry to 1/8" thickness on a lightly floured sheet of waxed paper.
- Place in a 9" deep-dish pie plate; trim off excess pastry along edges.
- Pour cooled cherry mixture into pastry shell..
- Roll remaining pastry to 1/8" thickness; cut into strips, if you desire to make a lattice topped pie. Otherwise, transfer entire pastry to top of pie.
- Trim off excess pastry along edges.
- Fold edges under and flute. Cut slits in top crust for steam to escape.
- Brush top of pastry shell lightly with milk or cream, and sprinkle pastry with sugar.
- Bake at 400º for 55 minutes, or, until golden brown.
Notes
Pie crust recipe follows.
Recommended Products
As an Amazon Associate and member of other affiliate programs, I earn from qualifying purchases.


Nutrition Information:
Yield:
8 slicesServing Size:
1Amount Per Serving: Calories: 653Total Fat: 22gSaturated Fat: 9gTrans Fat: 0gUnsaturated Fat: 11gCholesterol: 13mgSodium: 424mgCarbohydrates: 115gFiber: 7gSugar: 78gProtein: 6g
The Recipe for Flaky Pie Crust:
Pastry for 9" Pie Crust
My family's favorite pie crust...and they've had a lot of pie...
Ingredients
- 2 1/2 c. AP flour (300 g)
- 1 teaspoon salt
- 2/3 c. + 2 tablespoons shortening (150 g)
- 3 to 4 tablespoons of ice water
Instructions
- Combine flour and salt; cut in shortening with pastry blender until mixture resembles coarse meal.
- Sprinkle ice water, 1 tablespoon at a time, evenly over surface; stir with a fork until dry ingredients are moistened.
- Shape into 2 discs; wrap in plastic wrap, and chill in refrigerator for at least one hour, and up to overnight.
- When dough is chilled, spread out a sheet of waxed paper larger than your pie plate. Evenly sprinkle 1/4 c. flour on top of waxed paper, where you will be rolling pastry.
- Place one unwrapped pastry disc onto sheet of floured waxed paper. Cover disc with plastic wrap and roll pastry into 9" circle, with plastic in between disc and rolling pin.
- To fit into pie plate, roll dough into 1/8" thick circle, and then beginning at one side, roll plastic and pastry back onto pin. Unwrap over pie plate, and peel off plastic. Trim off edges, and flute.
- Pie pastry is now ready to be filled.
Notes
To flute edges means simply to hold dough at edge of pieplate in between thumb and index finger of left hand, and insert right index finger between the thumb and index finger of the left hand, slightly pinching pastry together.
Tanya
Friday 29th of May 2026
Real sour cherries require much more sugar than one tablespoon. I don’t know if frozen are sweeter. I used fresh sour cherries, and my pie was inedible.
Susan Williams
Thursday 11th of June 2026
So....I'm guessing you missed the very first ingredient, which was one cup of sugar? The one tablespoon of sugar was to be used to sprinkle on the crust. What a waste of expensive cherries!!!!
Linda
Thursday 20th of February 2025
Where do you get the cherry juice from? Is it from the frozen cherries?
Susan Williams
Tuesday 11th of March 2025
Hi,Linda. When I thawed the cherries, and added the sugar, there it was. Adding sugar to fruit causes a process called maceration, which means the fruit extrudes juice.
Courtney
Tuesday 24th of December 2024
Can you freeze the cherry filling?
Susan Williams
Sunday 29th of December 2024
Hi, Courtney. I have never tried that. I don't recommend re-freezing cherries that were previously frozen. However, if you try it, and it works for you, let me know.
Tisha
Thursday 24th of August 2023
Could the 2/3 cup of cherry juice be replaced with 2/3 cup of red wine?
Susan Williams
Saturday 16th of September 2023
I've never done that, and I have no idea how it would taste. But if you try it, let me know how you like it. In general, liquids in recipes can be replaced by other liquids. Red wine would add some savory notes that I don't think I'd want in my OWN cherry pie, but if that sounds good to you, let me know how it turns out.