
This post contains links that, if you click on them and make a purchase, will earn me money. As an Amazon Associate, I earn from qualifying purchases. . Regardless, I only recommend products or services that I believe will be good for my readers. Thanks for helping me continue to produce great content!


Sesame semolina artisan bread is definitely the favorite bread of my childhood, and is possibly still my favorite loaf of bread.

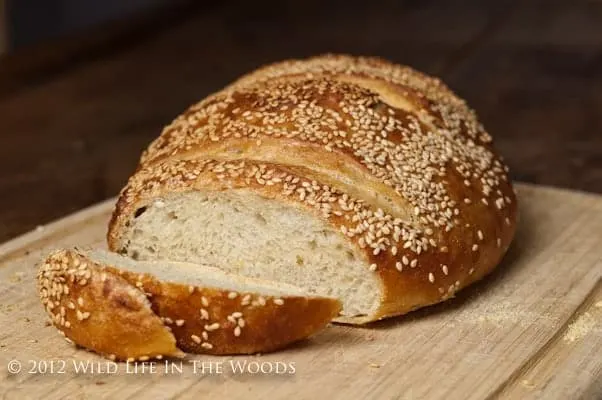
Sesame Semolina Artisan Bread is definitely the favorite bread of my childhood, and is possibly still my favorite loaf of bread.
I’ve been making various different types of artisan bread, off and on for several years. I started by grinding my own whole wheat grain, to make loaves of Homemade Whole Wheat sandwich bread for my kids.
To make crusty artisan loaves, I’ve used Jeff Hertzberg and Zoë Françoise’s Making Bread in Five Minutes a Day method, and then used Cooks Illustrated’s recipe, and then Mark Bittman’s recipe, all of which I’ve liked, for various reasons.
Not to mention (all the while I’m mentioning) my flour-laden, but successful and rewarding venture into sourdough bread. So, all things considered, I know my way around a loaf of bread.
Usually, the way is via the butter dish.
Why This is My Favorite Loaf of Bread
The recipe I’m going to share with you today is an adaptation I came up with that sprang from two catalysts: first, a favorite childhood memory. And second, my love for whole grains.
First, the memory: I grew up in Charleston, West Virginia, which, in the 1960’s, probably wasn’t the most cosmopolitan town. But my Mom was smart enough to know a great loaf of bread when she found one, and there used to be a nice restaurant in town called The Sterling, that sold their delicious and allegedly Grecian bread “to go”.
They also made a really good salad dressing, that my mother figured out how to make at home. French dressing with garlic, Worcestershire sauce and blue cheese. And maybe a pinch of sugar, and salt. Savory, sweet, salty and spicy: it’s really, really good! Still one of my sister’s favorites.
Almost every summer Saturday night at our house was “Steak Night”. Steak Night was awesome: Dad grilled steaks in back of the house that came back in still smelling of a hint of lighter fluid, juicy and pink on the inside, and over which we ladled warm, melted garlic butter.
These we served with an iceberg lettuce salad with crisp, cool, chopped cucumber and slices of lusciously summer ripe red tomatoes, all drizzled with that special restaurant tangy salad dressing, and fresh, crusty, sesame seed-coated Grecian bread, to which I applied lovely, cool pats of creamy butter.
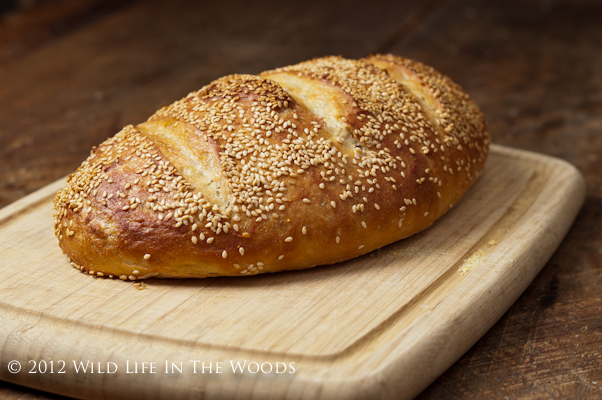
Years later, I tasted something similar to the Grecian bread of my childhood, called “Semolina bread”. I always wondered if I could make a similar loaf, myself, the way my Mom had figured out how to replicate that great salad dressing.
What Is Semolina Bread?
Semolina flour comes from processed durum wheat. It’s the flour from which the world’s best pasta is made. It is yellow in color and higher in gluten, thus producing a heavier, more dense flour. The first time I tried to duplicate this recipe, I bought some Bob’s Red Mill Semolina flour, which comes in little 24 oz. plastic bags, that you can find in the “organic” section of most grocery stores. It worked well, and if you don’t have a grain mill with which to grind your own flour, Bob’s Red Mill will give you excellent results.
However, now we come to the second part of my inspiration for my adaptation of the recipe, which involves my love for whole grains. This past May I attended a homeschool curriculum fair, and I saw The Breadbecker’s had a booth, there. (They have everything you would EVER need to make homemade bread, and, in particular, if you are interested in making bread made with whole grains.)
I have purchased wheat berries from them before. So, I cruised quickly through their booth, to see if they had anything that might pique my interest. And lo, and behold, they were selling Durum Wheat Berries, which I knew to be the whole grain “granddaddy” of semolina flour.
That may not be great news to you, if you don’t have a wheat mill. If you don’t, just use Bob’s Red Mill, and you’ll make great bread! But since I have a wheat mill, and had a yen to make my very own loaf of at least partially whole grain semolina flour, ground from my very own Durum wheat berries, I was pretty thrilled. Could I do it?
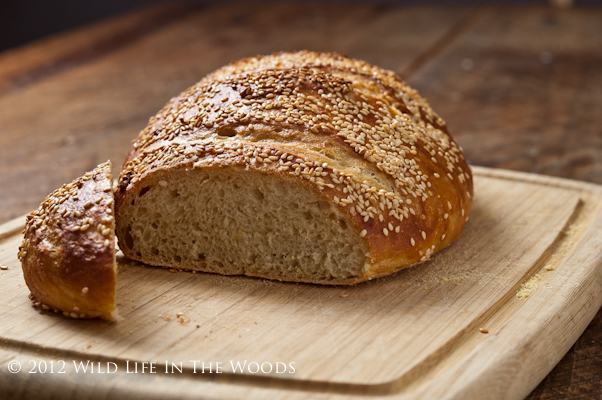
One obstacle that I knew was that whole grain flours produce a bread that tends to be more dense. The germ and the bran have been already extracted from a typical semolina flour. Could I make a bread comprised of whole grain durum flour that would be reminiscent of the Grecian Bread of my youth? Could I make a delicious crusty bread with a bit more density to it than most artisan bread recipes, but with enough lift that it wasn’t a brick? (My previous experience making artisan bread with home-ground whole wheat had not been anything I was ready to blog about.)
 If Jesus is the Bread of Life, this might just help me love Him even more. |
I could, and I did, and you can, too. And remember: if you don’t have a grain mill, just let Bob’s Red Mill do the grinding for you, and try this bread recipe anyway. It is SO yummy! I’ve made 3 batches since, and it is now my go-to bread recipe.
No mixer involved.
No kneading involved.
No kidding.
Couldn’t be easier.
Important Recipe Note for those using Bob’s Red Mill Semolina Flour, rather than whole grain durum flour: If you use Bob’s Red Mill Semolina flour, I recommend you use 3 c. semolina flour, and decrease the all purpose flour measurement that I give in the recipe to 3 1/4 c., making the total amount of flour in either version of the recipe equal to 6 1/4 c. flour. So, no matter which ratio of flours you use (3 to 3 1/4 or 2 to 4 1/4) you should come out using a total of 6 1/4 c. of flour. Since the Semolina flour is lighter than the whole grain durum flour, you can use more of it in the ratio. Make sense?
This recipe makes four 1 lb. loaves, or two 2 lb. loaves. I find a one pound loaf at my house barely makes it to being cool before it is completely devoured, so while you can make a smaller 1 pound loaf, you might want to try the 2 lb. size, if you live with ravenous wolves, like I do.
 Oh, goodness, me. Pass the butter. |

Allow it to cool before cutting. Repeat after me: ALLOW IT TO COOL.
Hang it. Give me the bread knife, NOW, or someone’s getting hurt.
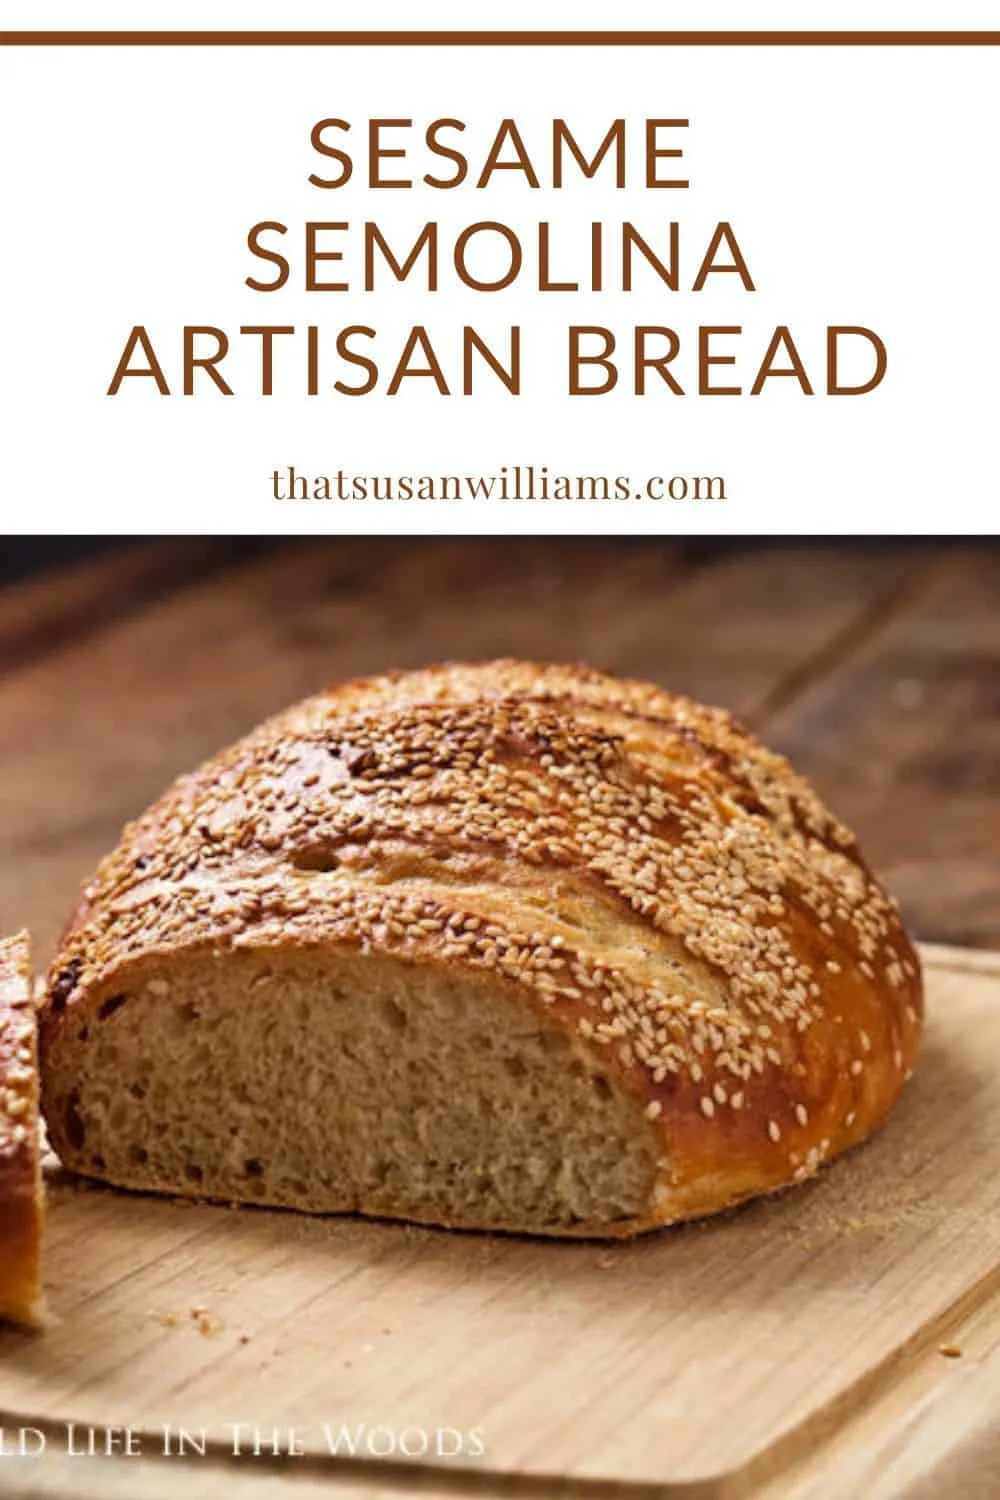
The Recipe for Semolina Sesame Artisan Bread
Semolina Sesame Artisan Bread
Ingredients
- Semolina Sesame Artisan Bread
- 3 c. lukewarm water
- 1 1/2 Tablespoons granulated yeast
- 1 1/2 Tablespoons salt
- 2 c. durum whole wheat flour (see recipe note if you are using Semolina flour)
- 4 1/4 c. all purpose flour
- 1 T. sesame seeds
- 1 T. cornmeal
- 1/2 t. cornstarch
Instructions
- Mix the yeast and salt with the lukewarm water in a large 5qt container. I use a large plastic tub with a lid, but I do NOT seal the lid to make it airtight.
- Mix in the flours using a large spoon. (I use a large wooden spoon. By the end of adding all the flour, I wet my hands to mix in the last bits of the flour into the dough. The dough is a fairly wet, sticky dough. You can certainly use a mixer if you'd like to, but I don't find that I need one.)
- Cover (not airtight...this needs to off gas a bit...but then...don't all God's creatures need to do that? Yeast is no exception.). Allow to rest at room temperature until the dough rises and collapses (or flattens on top) approximately 2 hours.
- The dough can be used at this point, or you can store it in your fridge for up to 14 days. As if you could wait that long!!!
- When You're Ready to Bake
- If you're going to bake one 2 lb. loaf, dust the surface of the refrigerated dough with flour and cut off about half of it. (About 2 lbs.) Return the other half of the dough, to the plastic container and store it in your refrigerator till you're ready to use it. Dust the dough you'll be baking with more flour and quickly shape it first into a ball, and then into an oval (ish) shape. Allow to rest for 40 minutes on a sheet of parchment paper that you have sprinkled with cornmeal. (If you HAVE a pizza peel, then use that to let it rest on, and to help you transfer it into the oven. I don't have a pizza peel, so I use parchment paper as my sling for transferring the bread dough loaf to the oven onto my baking stone. It can stay on the parchment paper for the baking: no problem. No need to transfer it off directly onto the stone.)
- Twenty Minutes Before Baking
- Preheat the oven to 450º, with a baking stone placed on the middle rack, and the bottom of a broiler pan on the shelf just below that.
- Time to use that mysterious cornstarch that’s in the ingredient list.
- You’re going to make a Cornstarch Wash to make the bread shiny, and help the sesame seeds to stick to the outside of the bread.
- Cornstarch Wash
- Blend the 1/2 t. of cornstarch with a bit of water to form a paste. Add 1/2 c. of water, and whisk with a fork. Microwave for 60 seconds, till mixture appears glassy. You can store the unused portion in the fridge, covered with plastic, for the next loaf.
- Just before baking, paint the surface of the loaf with the cornstarch wash, sprinkle with sesame seeds, and slash the surface of the bread (I usually make 3 diagonal slash marks) about 1/2″ deep, using a serrated knife.
- Gently place the loaf and the parchment paper onto the hot baking stone, using the parchment paper as a sling to carry the loaf to the baking stone. Pour 1 c. of hot tap water onto the broiler tray below it, and quickly close the oven door. Bake for around 30 minutes, until deeply browned and firm. Adjust baking time to the size of your loaf, and your own oven’s performance.
- Allow to cool before slicing and eating.
Notes
Important Recipe Note for those using Bob's Red Mill Semolina Flour, rather than whole grain durum flour:
If you use Bob's Red Mill Semolina flour, I recommend you use 3 c. semolina flour, and decrease the all purpose flour measurement that I give in the recipe to 3 1/4 c., making the total amount of flour in either version of the recipe equal to 6 1/4 c. flour. So, no matter which ratio of flours you use (3 to 3 1/4 or 2 to 4 1/4) you should come out using a total of 6 1/4 c. of flour. Since the Semolina flour is lighter than the whole grain durum flour, you can use more of it in the ratio.
Recommended Products
As an Amazon Associate and member of other affiliate programs, I earn from qualifying purchases.


Ready to try this? Pin it! Share it! You know you should!
What’s your favorite type of bread?

Sal. Polizzi
Tuesday 20th of February 2024
Hi, used a egg white wash instead of the cornstarch, came out looking fantastic, will try a egg yolk with the next loaf.
Maria
Friday 16th of February 2024
Can you give the ingredient amounts in grams please?
Pensters
Saturday 23rd of September 2023
Can’t wait to try this today—just a quick question..have you(or others) ever used this recipe to make torpedo rolls?
Susan Williams
Monday 2nd of October 2023
I never have. If you try it, let me know how they turn out. I do have a delicious recipe for crescent rolls. https://www.thatsusanwilliams.com/2020/11/homemade-sesame-seed-crescent-rolls/
Deb Rapisardi
Sunday 23rd of October 2022
Hello Susan and thank you so much for this gorgeous recipe. My son is a semolina fanatic and I love trying new things. I did use Bob’s Semolina flour and all purpose flour 3c & 3 1/4c like you said and it all came together nicely. I baked the bread as instructed and added about 7 minutes to the overall baking time. The bread tastes great, I’m curious if artisan bread is denser than a regular Seeded Semolina loaf of Italian bread? The bread seems thicker/denser and maybe just a tiny bit wetter. Should I have baked it a little longer? Thank you so much.
Susan Williams
Friday 28th of October 2022
That would be my best guess, is to bake it a bit longer. All ovens are different, which is probably the reason this was your experience. Mine is probably hotter than yours. Artisan bread just means it's homemade...made by an artisan...a craftsman...and hey! That's you!
Kathy
Saturday 19th of March 2022
I have made this recipe many times and it’s always a winner. It’s hard to mess it up though I have inadvertently tried many times. I make 2 2lb loaves at a time but would like to try making 4 1 lb loaves. How should I adjust the cooking time? Thank yoi
Susan Williams
Tuesday 22nd of March 2022
I've never tried that before, Kathy! Obviously, you've intuited that the cooking time should be reduced, since they'll be smaller in size.Try 5 minutes less, but keep an eye on things! Let me know how it turns out for you, in case someone reading this would like to try doing the same.